
myVery hiker is different and, therefore, the team of each hiker should also be different! Any sun hoodie that inevitably buys some peculiarities and some missing characteristics that will be added. While a sewing machine can facilitate the process and faster, all modifications can be done below with only a needle, thread, scissors and a little recklessness.
Three basic points you need to know
With only three basic stitches, you begin to unlock the ability to make small adjustments to your entire team!
THE PETJO: To create a setback, start lifting the needle through the fabric and then take a small stitch forward. The key to the technique is the next step: it raises the needle again to a short distance ahead of its first stitch, but instead of continuing forward, it pushes the needle downward towards the exact end of its first stitch. This «go back» action to meet the previous stitch is what creates a safe and tidy line in the front of the fabric.
The whip: Whipstitch is one of the easiest stitches you can learn. To create it, pass the needle inside and outside the fabric in a series of straight diagonal stitches that «whip» on the edge. You bring the needle up from the back of the fabric, travel it on the edge and push it back to a short distance, repeating the movement to create an orderly and inclined stitch line.
The eyelet stitch: While it is a bit more complicated than the whip, the eyelet stitch creates a more durable result and fray test. To do so, you start raising the needle through the fabric. Then, you do your next stitch crossing the fabric from the front and returning through the hole. Before pulling the tight thread, wrap the work thread behind the point of the needle. As you pull the thread until the end, a small and tight knot is formed or «pure» right on the edge of the fabric, which blocks each stitch in place.
4 Modifications you can do to your Hoodie at home at home
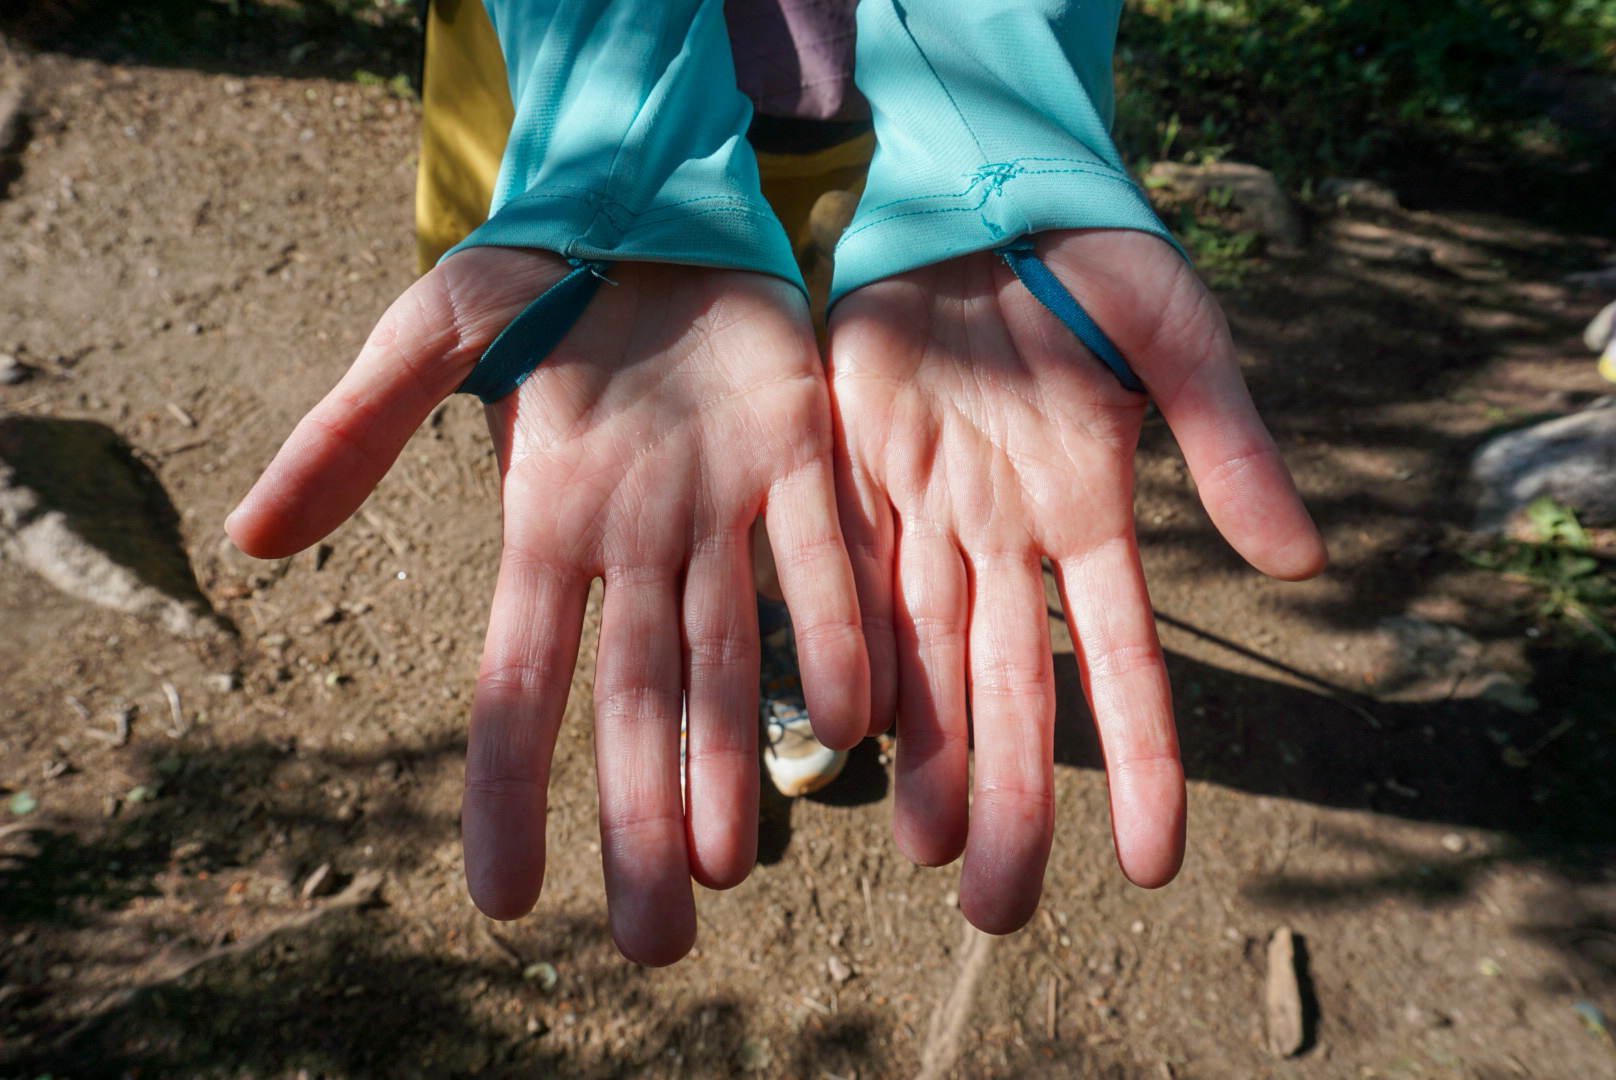
1) thumb holes
I think we can all agree that thumb holes are one of the best inventions in the modern world. Not only do they prevent the manga from rising by the arm, but also protect the upper part of the solar burns. There are two ways to add thumb holes: cut into the sleeves and the elastic hidden under the sleeve.
Integrated thumb hole
If your sleeves are long enough and naturally fall on your hands, a hole cut in the sleeves itself may be your best option.
Put on the hoodie and mark the exact place where you want the thumb hole to be. It must be in the seam where the sleeve meets the sleeve, or slightly on it, at the top of its hand. Then turn the sleeve upside down. Using a rear support, sew a square or a small and tight circle (approximately 1/2 inch) where he left the brand. This reinforcement will prevent the fabric from being unleashed.
Now comes the terrifying part: you have to cut your sleeve. Snip carefully a small horizontal cleft in the center of its reinforced area. Start with a very small cut (1/4 inch) and test the adjustment. You can always make it a little bigger if necessary. To avoid fraying, use an eyelet stitch or a tight stay around the cutting edges. This will create an orderly and lasting opening.
To avoid fraying around the thumb, use an eyelet stitch or a tight stay around the cutting edges. This will create an orderly and lasting opening that will not rub against your hand.
You will not realize how the sun burn, the upper part of your hands turns while it comes until you use a hooded sweatshirt without a thumb cxvrr.
Elastic elastic hole hidden
If your sleeves do not stretch naturally on your hands, you can join two small elastic pieces to function as thumb holes.
Put on hoodie and determine the exact place where your thumb will sit comfortably. This is usually in the seam where the sleeve meets the sleeve, at the top of his hand. Mark a small point inside the sleeve in this location.
Cort a small piece of elastic cord or a thin strip of elastic fabric. A piece of approximately 2-3 inches long is a good starting point, but can adjust it to your preference. This will be the hidden loop of the thumb. Make sure the fabric is comfortable and soft, since it will rub against your hands for hundreds of miles.
In the outer sleeve, in the marked location, carefully cut a very small horizontal cleft, only large enough for your thumb to pass. Start with a small cut and test the adjustment. Use an eyelet stitch or a tight stay to reinforce the edges of the cut. Then turn the sleeve upside down. Take your elastic or cloth and fold in half to create a loop.
Place the two ends of the folding loop on each side of the thumb cleft that has just created, inside the fabric. The loop itself must be inside the sleeve. Using a rear support, sew the two ends of the loop safely inside the manga fabric. This sewing must be inside and not visible from the outside. Make sure the seam is tight and strong, since this will be a stress point.
Turn the sleeve on the right side and try the thumb loop. Your thumb must now go through the slot and rest comfortably in the elastic loop inside the sleeve. The elastic will provide a comfortable adjustment that will not stretch the fabric over time, and all the modification will be hidden inside the garment, letting the bracelet look clean and professional, which we all know are the hikers!
An advantage of an elastic thumb hole is that the Sun Hoodie Fabric will not get dirty as a hooded sweatshirt where the entire manga covers half of the hand.
2) Hood closure
A hood closure can prevent the bell from flying to the wind and provide additional sunscreen for its neck and face. And, like a bonus, it’s as easy as sewing in a single button!
To start, put on hoodie and determine where you want the closure to sit on your chest or neck. Use a wow or chalk pen to mark a small line on the inner edge of one side of the hood. The length of this line should be a little longer than the diameter of your button. Turn the outward hoodie and, with a tight rear support, sew a small rectangular box around the marked line. This reinforcement is important to prevent the fabric from fraying once the eye button cuts.
Fold the fabric carefully along the line marked and cut a small hole in the center of your reinforced box. Be very precise and start with a smaller cut than you think you need. You can always do it later! Use an eyelet stitch to secure the edges of the cut.
Once the buttonhisian is finished, you can Attach the button next to the hood. Place the flat and double side on the other, as if it were closed. With the side of the buttonhole in the upper part, use your pen to leave a mark on the lower layer of the bell through the center of the eyelet. This ensures that your button is perfectly aligned.
Using a rear support, sew a small circle or square inside the hood where he left the brand, which will help to fray. Place the button on your marked point outside the hood and, with a strong thread, pass the needle through one of the button holes, through the fabric and outside the back. Bring the needle again through another hole and repeat several times. To create a rod (a small space between the button and the fabric), you can place a pin or toothpick under the button while sewing. Once finished, wrap the thread firmly around the stitches in the back of the button several times to secure it.

On the days when the terrain is something technical and I do not want to worry that the hair blows in my face or my hat flying, I love the closure of buttons (even if it makes me look like a scarecrow overloaded sides).
3) Hair ventilation
Compared to adding a hood closure, adding hair ventilation is a piece of cake. For those of us with a lot of hair, it is really pleasant to be able to go through the hood and maintain all that hot, heavy and sweaty disaster of our necks.
First, find the crown of your head when the hood is on, or the place where your horsetail/braids usually start in your head. This is where ventilation should be located. Mark a small horizontal line (approximately 1-2 inches long) with a feather or chalk pen.
Inside the hood, sew a rectangular box or a circle around its marked line with a tight rear support to prevent the fabric from fraying with use. SNIP carefully along the marked line. Finally, again to avoid fraying, use an eyelet stitch or a tight whip stretch to secure the raw edges of the cut.
That’s all; You finished!

I have a lot of hair, I often feel that I need to choose between tangles or overheating. A hair ventilation may not be the most fashionable, but it takes my hair without my neck without constantly tangling against the hooded sweatshirt fabric.
4) Look at the slot
The process for this is largely identical to hair ventilation, and will allow you to easily verify time and statistics on your watch without having to pull the sleeve up and on it.
Put the sweatshirt and mark the location of the face of your clock outside the sleeve. The cleft must be a little longer than the face of your clock. Turn the manga out and sew a tight and narrow rectangle around the marked area. This will provide a solid base for cleft and prevent it from tearing over time.
Cut a horizontal slot in the center of the reinforced rectangle and use an eyelet stitch to create a clean finish around the slot.

When I do not wear a sun hoodie, I feel so frustrated for having to walk any clothes I am using on my watch to see what elevation I am.
Make your team work for you
Do not satisfy the team that frustrates you just because this is how it is done! While there may be a slight learning curve, taking the first step to modify your team to fit your needs will serve by the path. Nobody wants to spend six months a little upset about the only shirt he has with them!
:max_bytes(150000):strip_icc():format(jpeg)/Keke-Palmer-attends-Marques-de-Caceres-Keke-Palmer-Shares-Her-Mom-Hack-for-Working-Out-with-Son-031126-20c75df28b4b48d8b8056fd96c2ae890.jpg?w=238&resize=238,178&ssl=1 "Keke Palmer comparte un video identificable de ella haciendo ejercicio con su hijo Leodis, de 3 años")

