
I am making the pack that I carry in the CDT. In this final post, I’ll make the frame, put it all together, and take it on a little hike to test it out.
Finishing the back panel.
I read a lot about number frames and how they are made before deciding on the process for this. The MYOG Reddit communities and Backpacking Light forums provided me with some invaluable advice. I decided to go with an inverted U of bent aluminum tubing that fits into the strap channels.
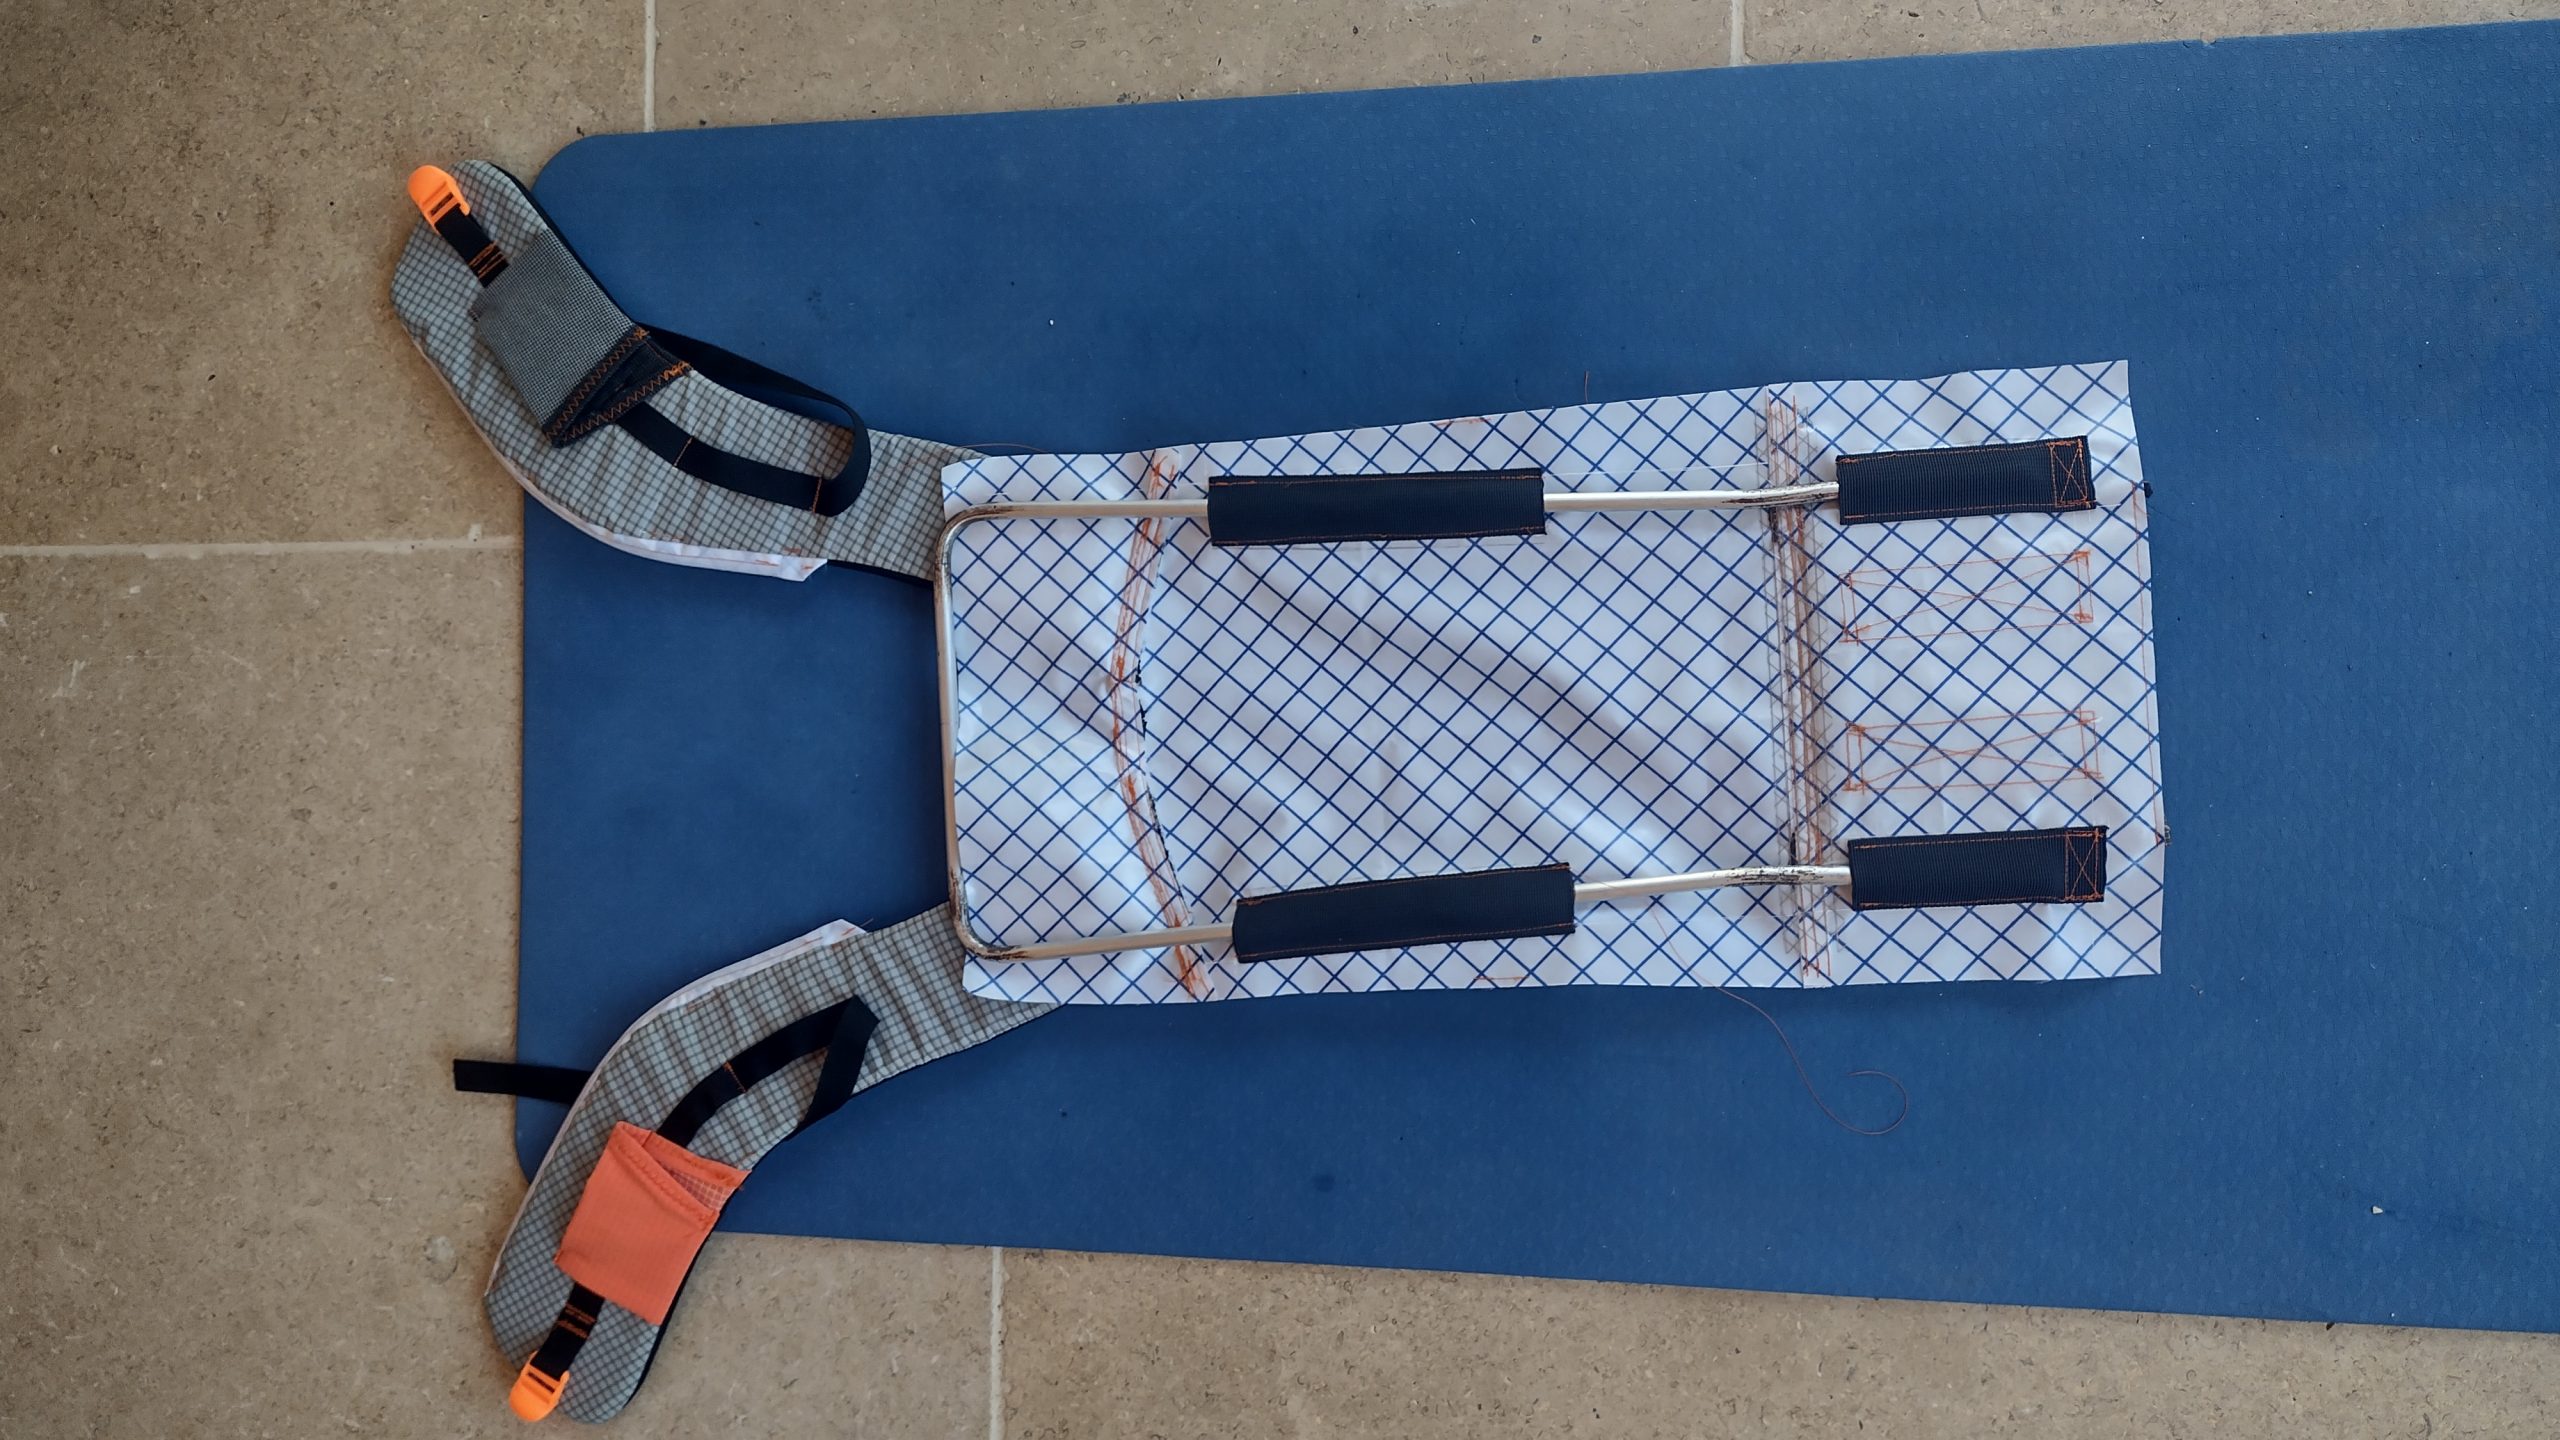
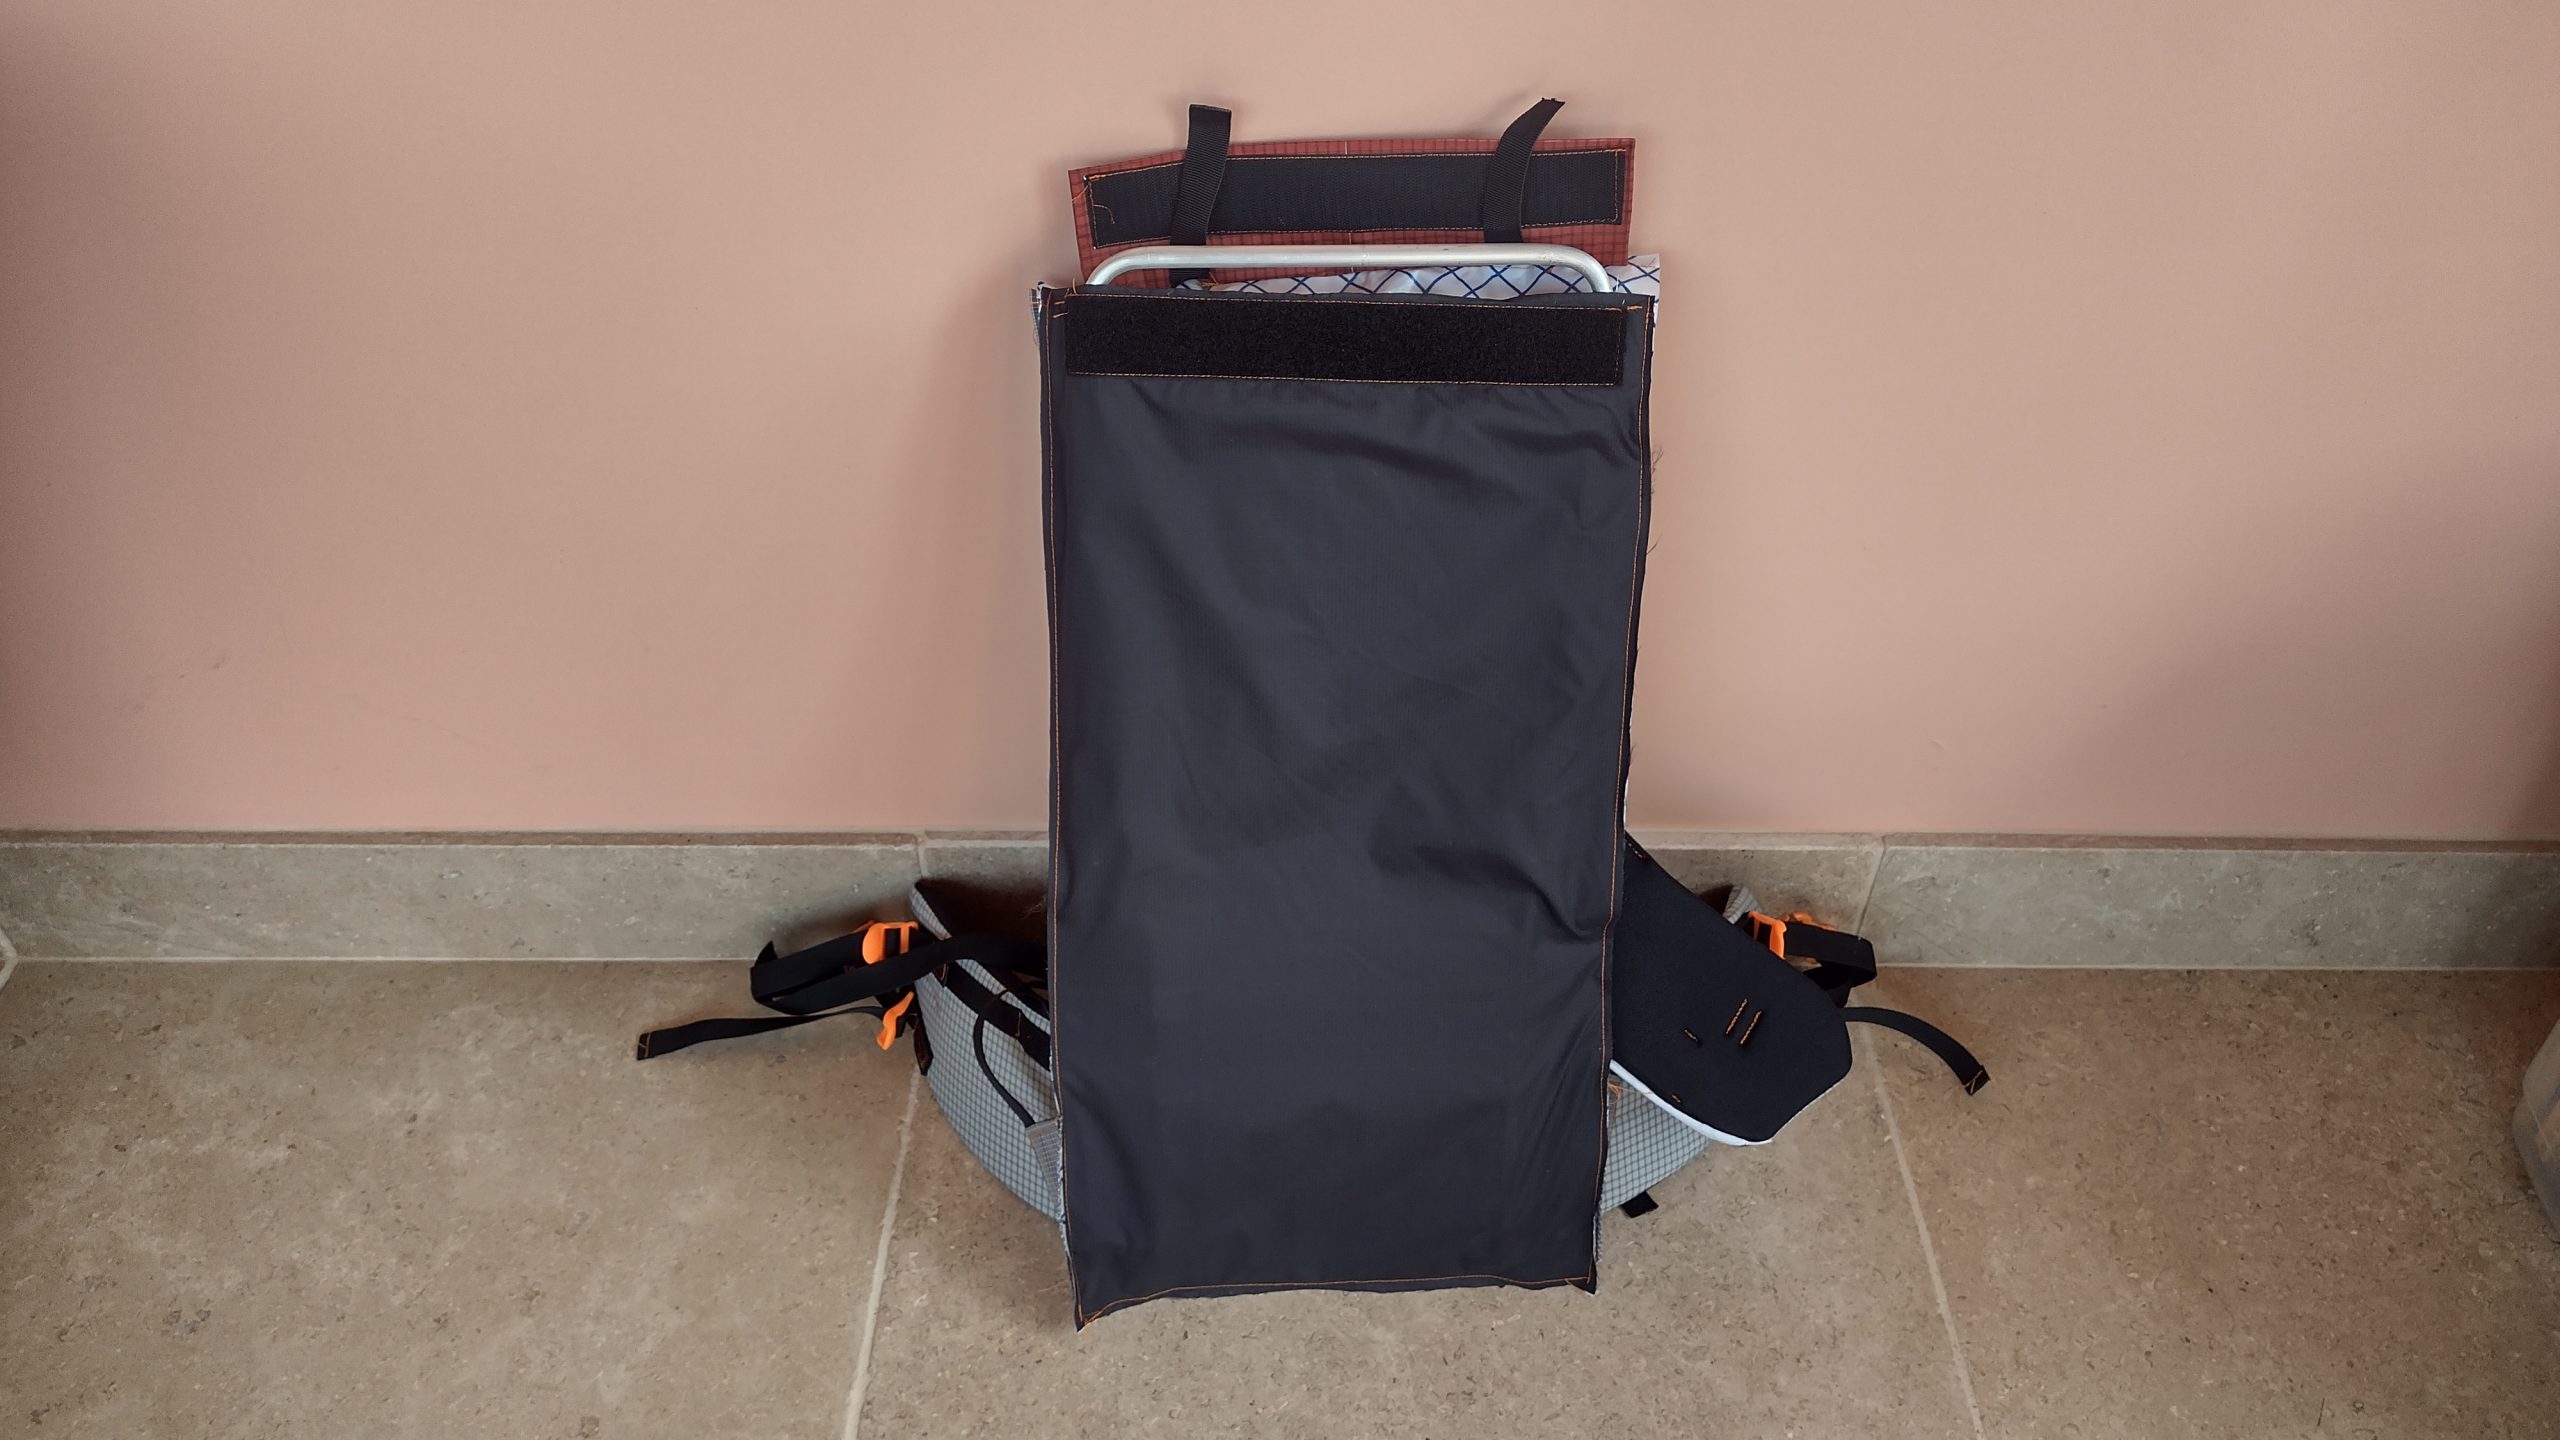
At the end of my last post, I started creating the back panel. In reality, there is still a lot to do to get it ready. The first thing is to attach the straps to the back panel and add an additional panel that goes up to where the cargo lifts sit. This seam gets a lot of reinforcement, which is tricky where the straps meet as the buildup gets quite thick. I tried this several times but kept getting misaligned when I got to the end. This was quite late and night, so I went to bed and attacked it the next day, but pinning it and sewing it from the center. I added a few more strap channels for the frame to slide through.
the back panel with straps and riser panel
Make the frame
I then bend the frame tube so I can attach it before sewing the rest of the back panel. The starting point is a piece of 10mm aluminum rod. I mark the curve locations on this, which I calculated using Rhino. I start from the center and work outwards, so I can trim any length mismatches from the ends. The next step is to rub soap on the folded areas and then heat it with a blowtorch until it turns black. This increases the ductility of the metal and reduces the risk of cracks when bending.
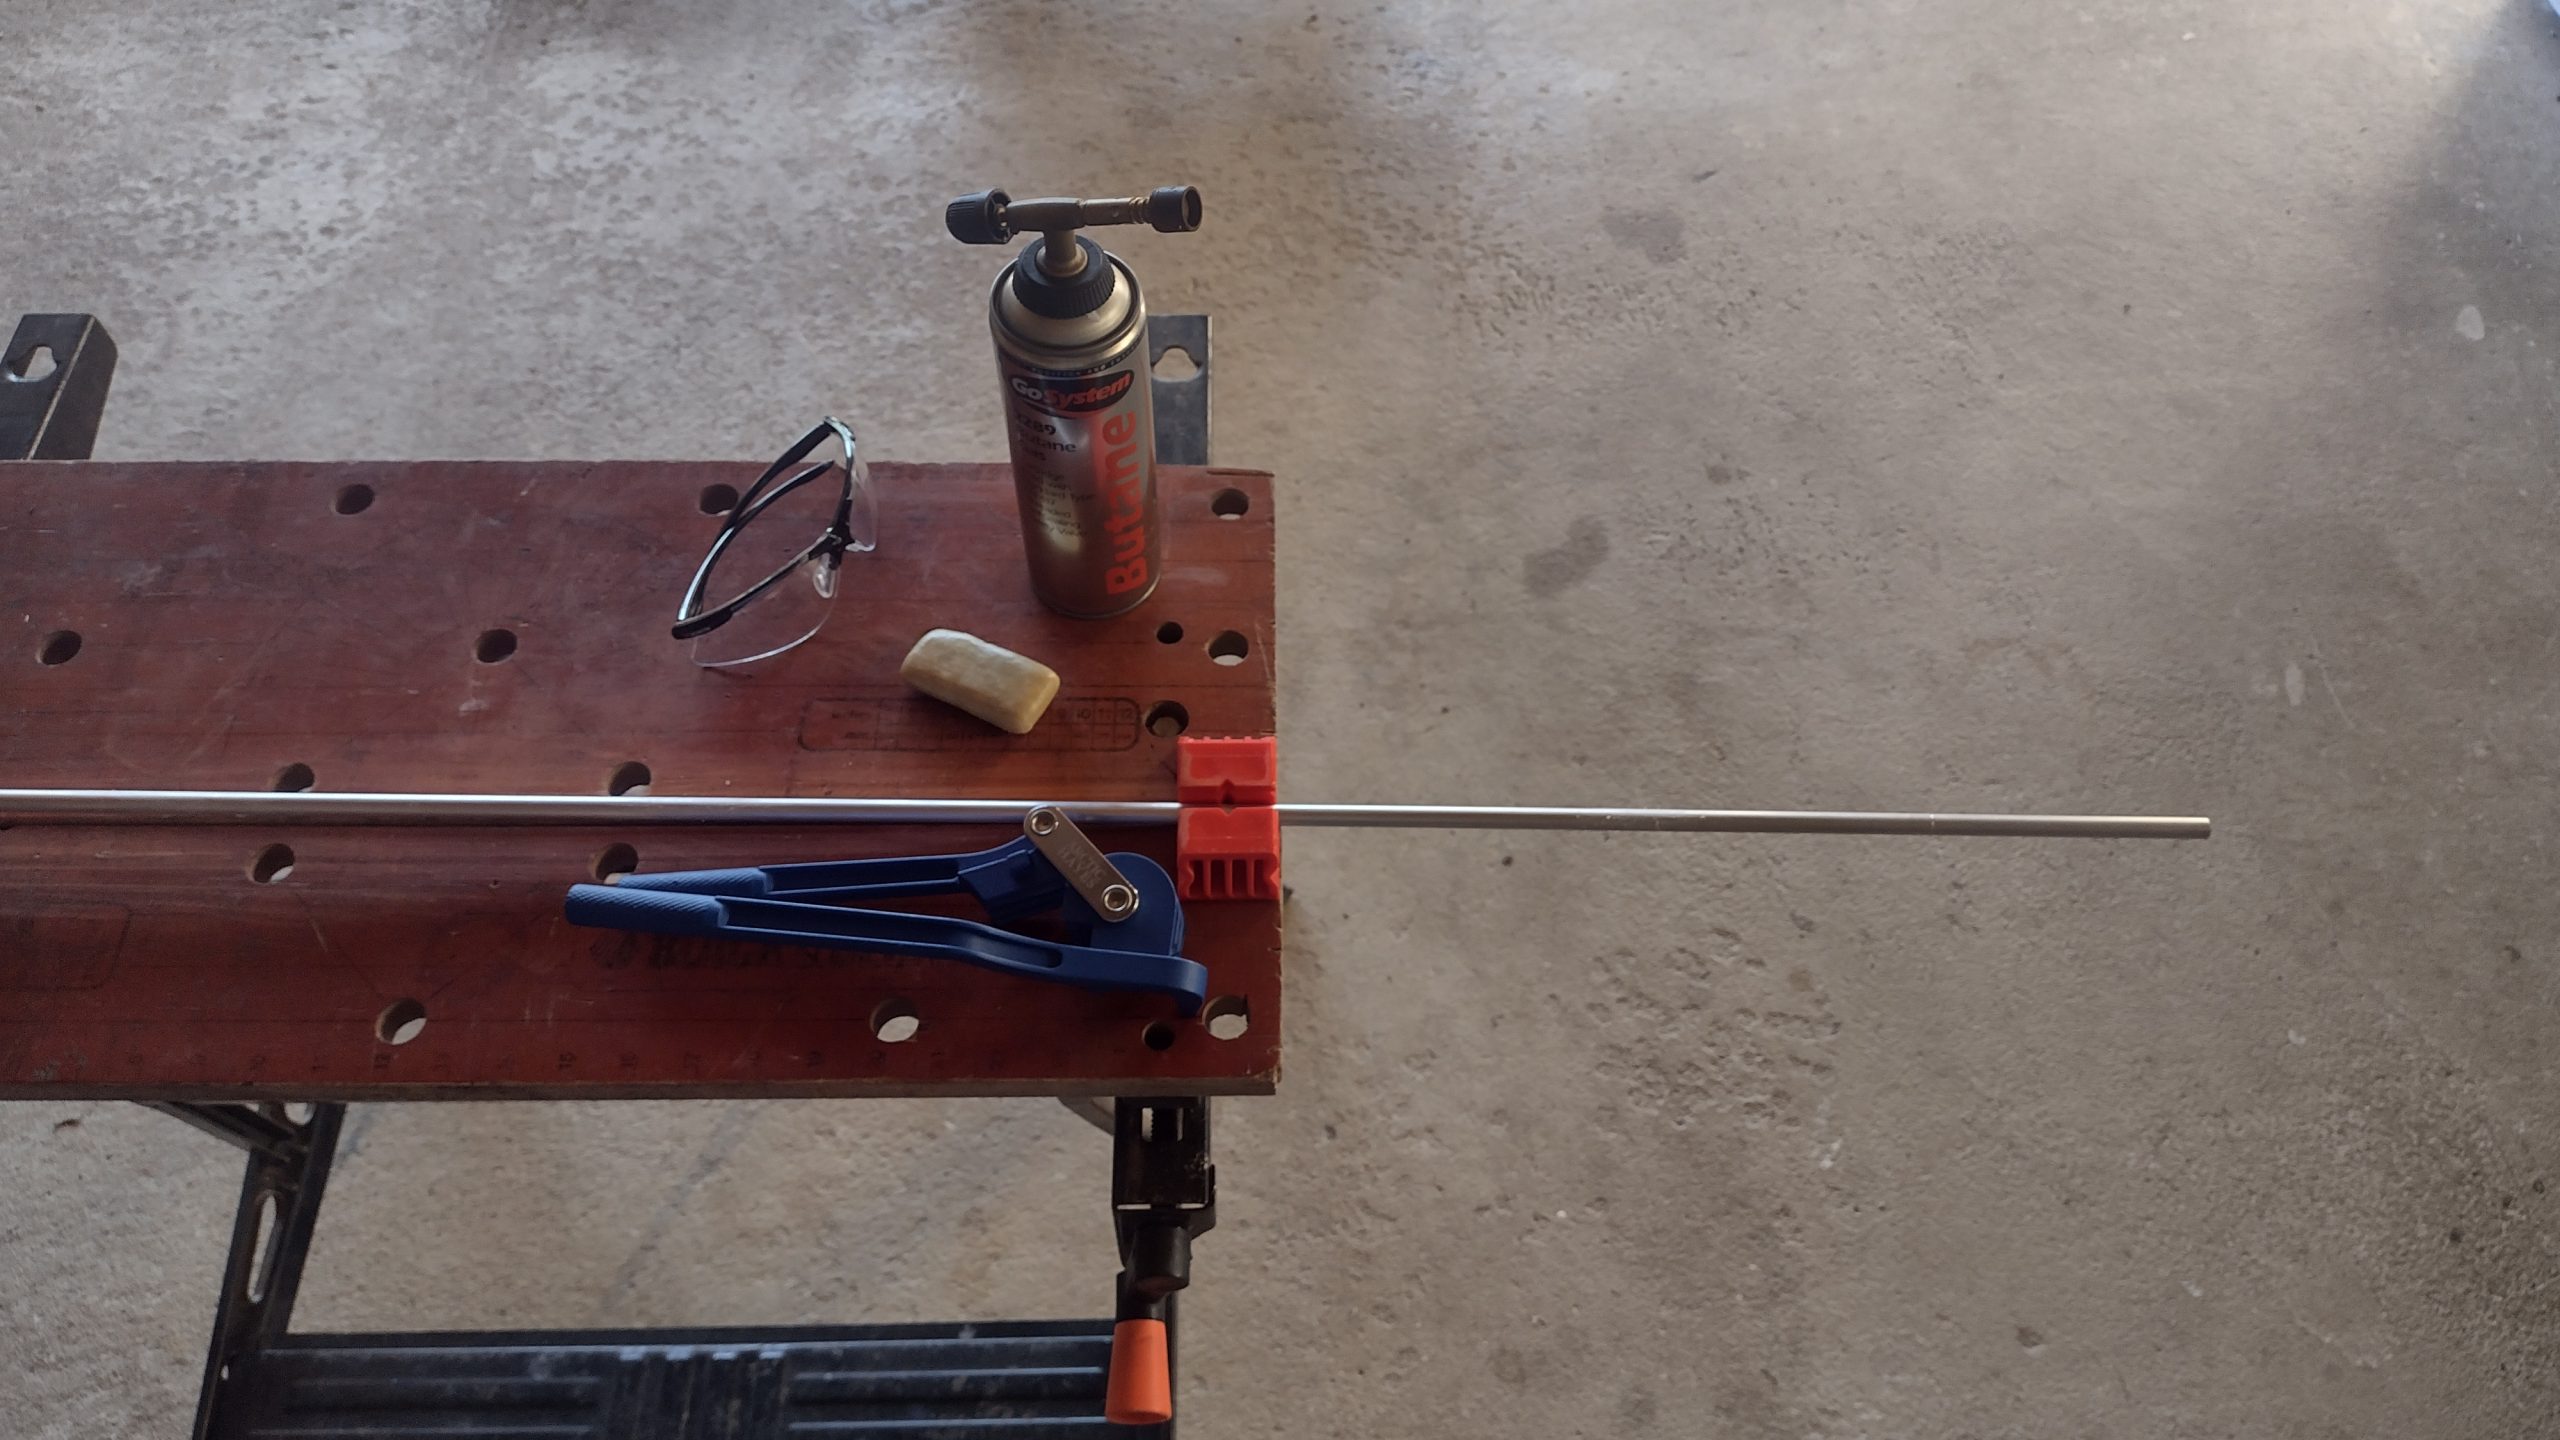
preparing to bend the tube. Attention to safety glasses, very important!
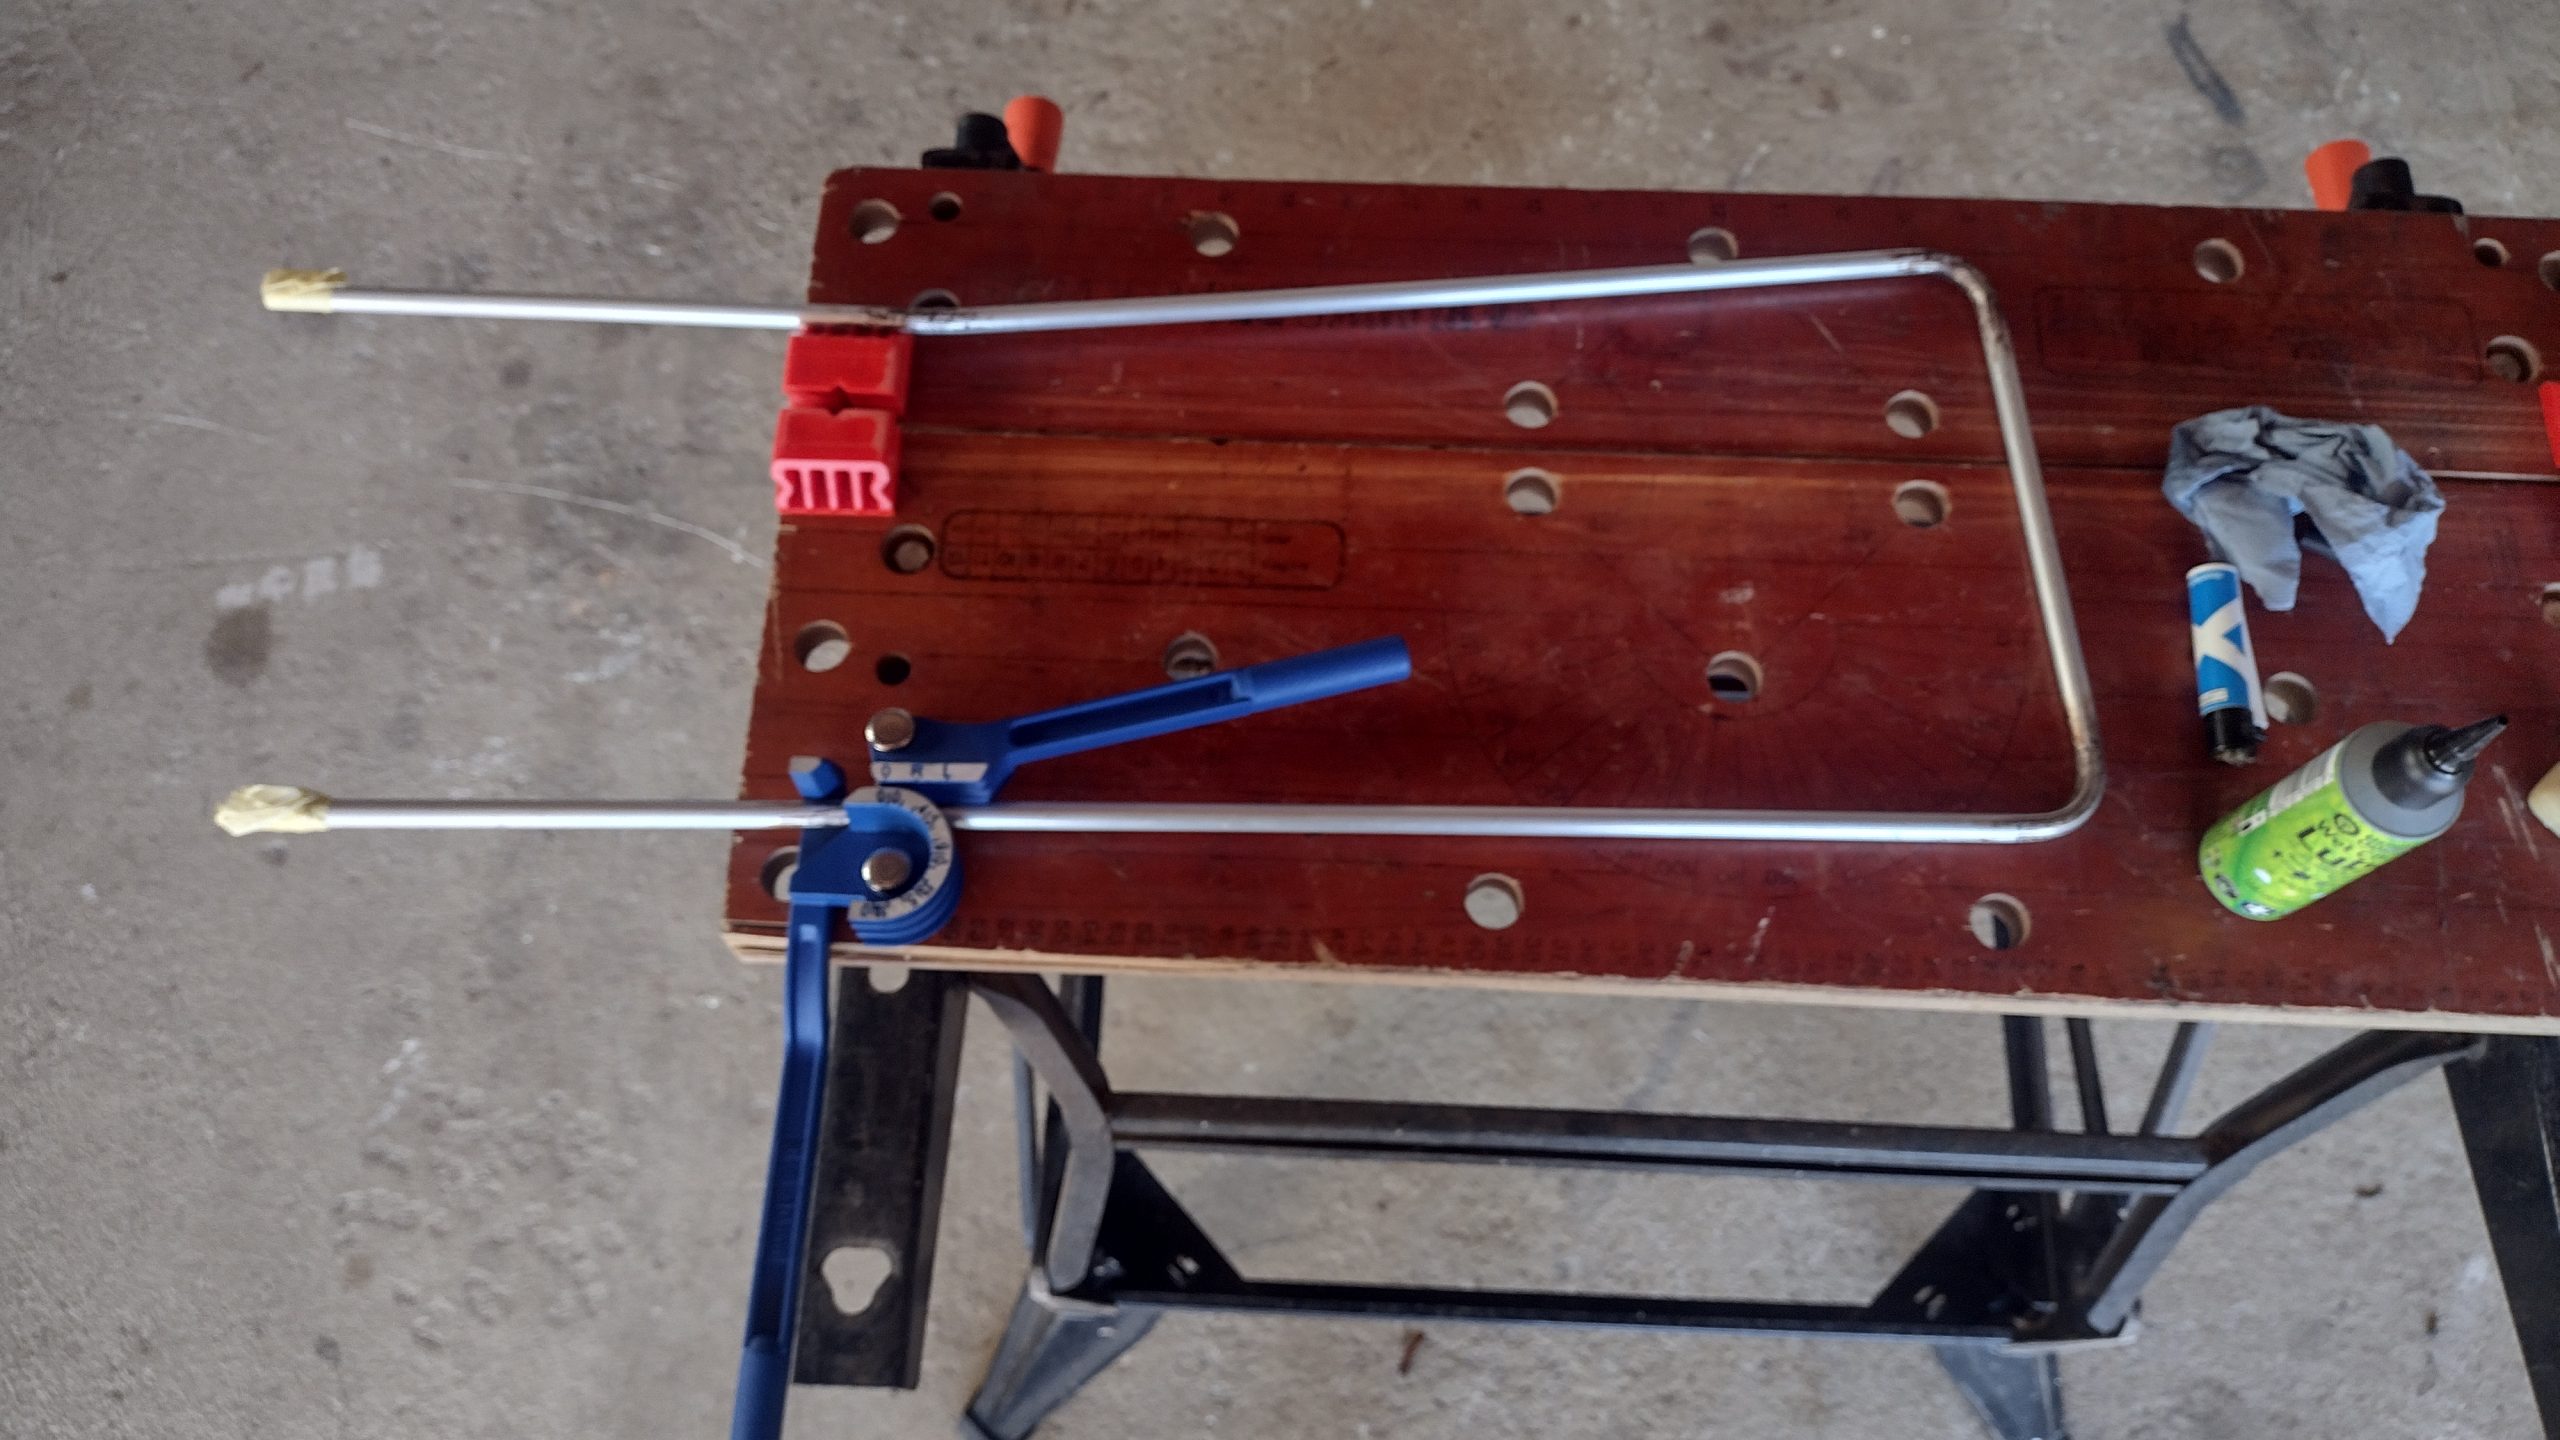
I then tape one end of the tube, fill it with sand, and then tape the other end. This sand inside helps prevent the tube from folding on itself when bending, since the wall thickness of the tube is only 1 mm. Then I use a cheap plumbing pipe bender to shape it. It was much easier than I thought it would be.
that’s a good pushup
I test the size of the frame by placing it on the back panel. It seems to fit quite well. I will trim the ends to fit more precisely once the backpack is fully assembled.
Fits pretty well!
I also add a frame sheet, which is mainly to add a little extra rigidity to the backpack and also prevent it from hitting my back. I make it with two layers of corrugated cardboard for floor protection, the type used in construction projects. It is approximately 2mm thick and is knurled, so it is rigid in one direction and bends in the other. I cut two pieces at an angle and then glue them together so that the direction of each panel goes in the opposite direction.
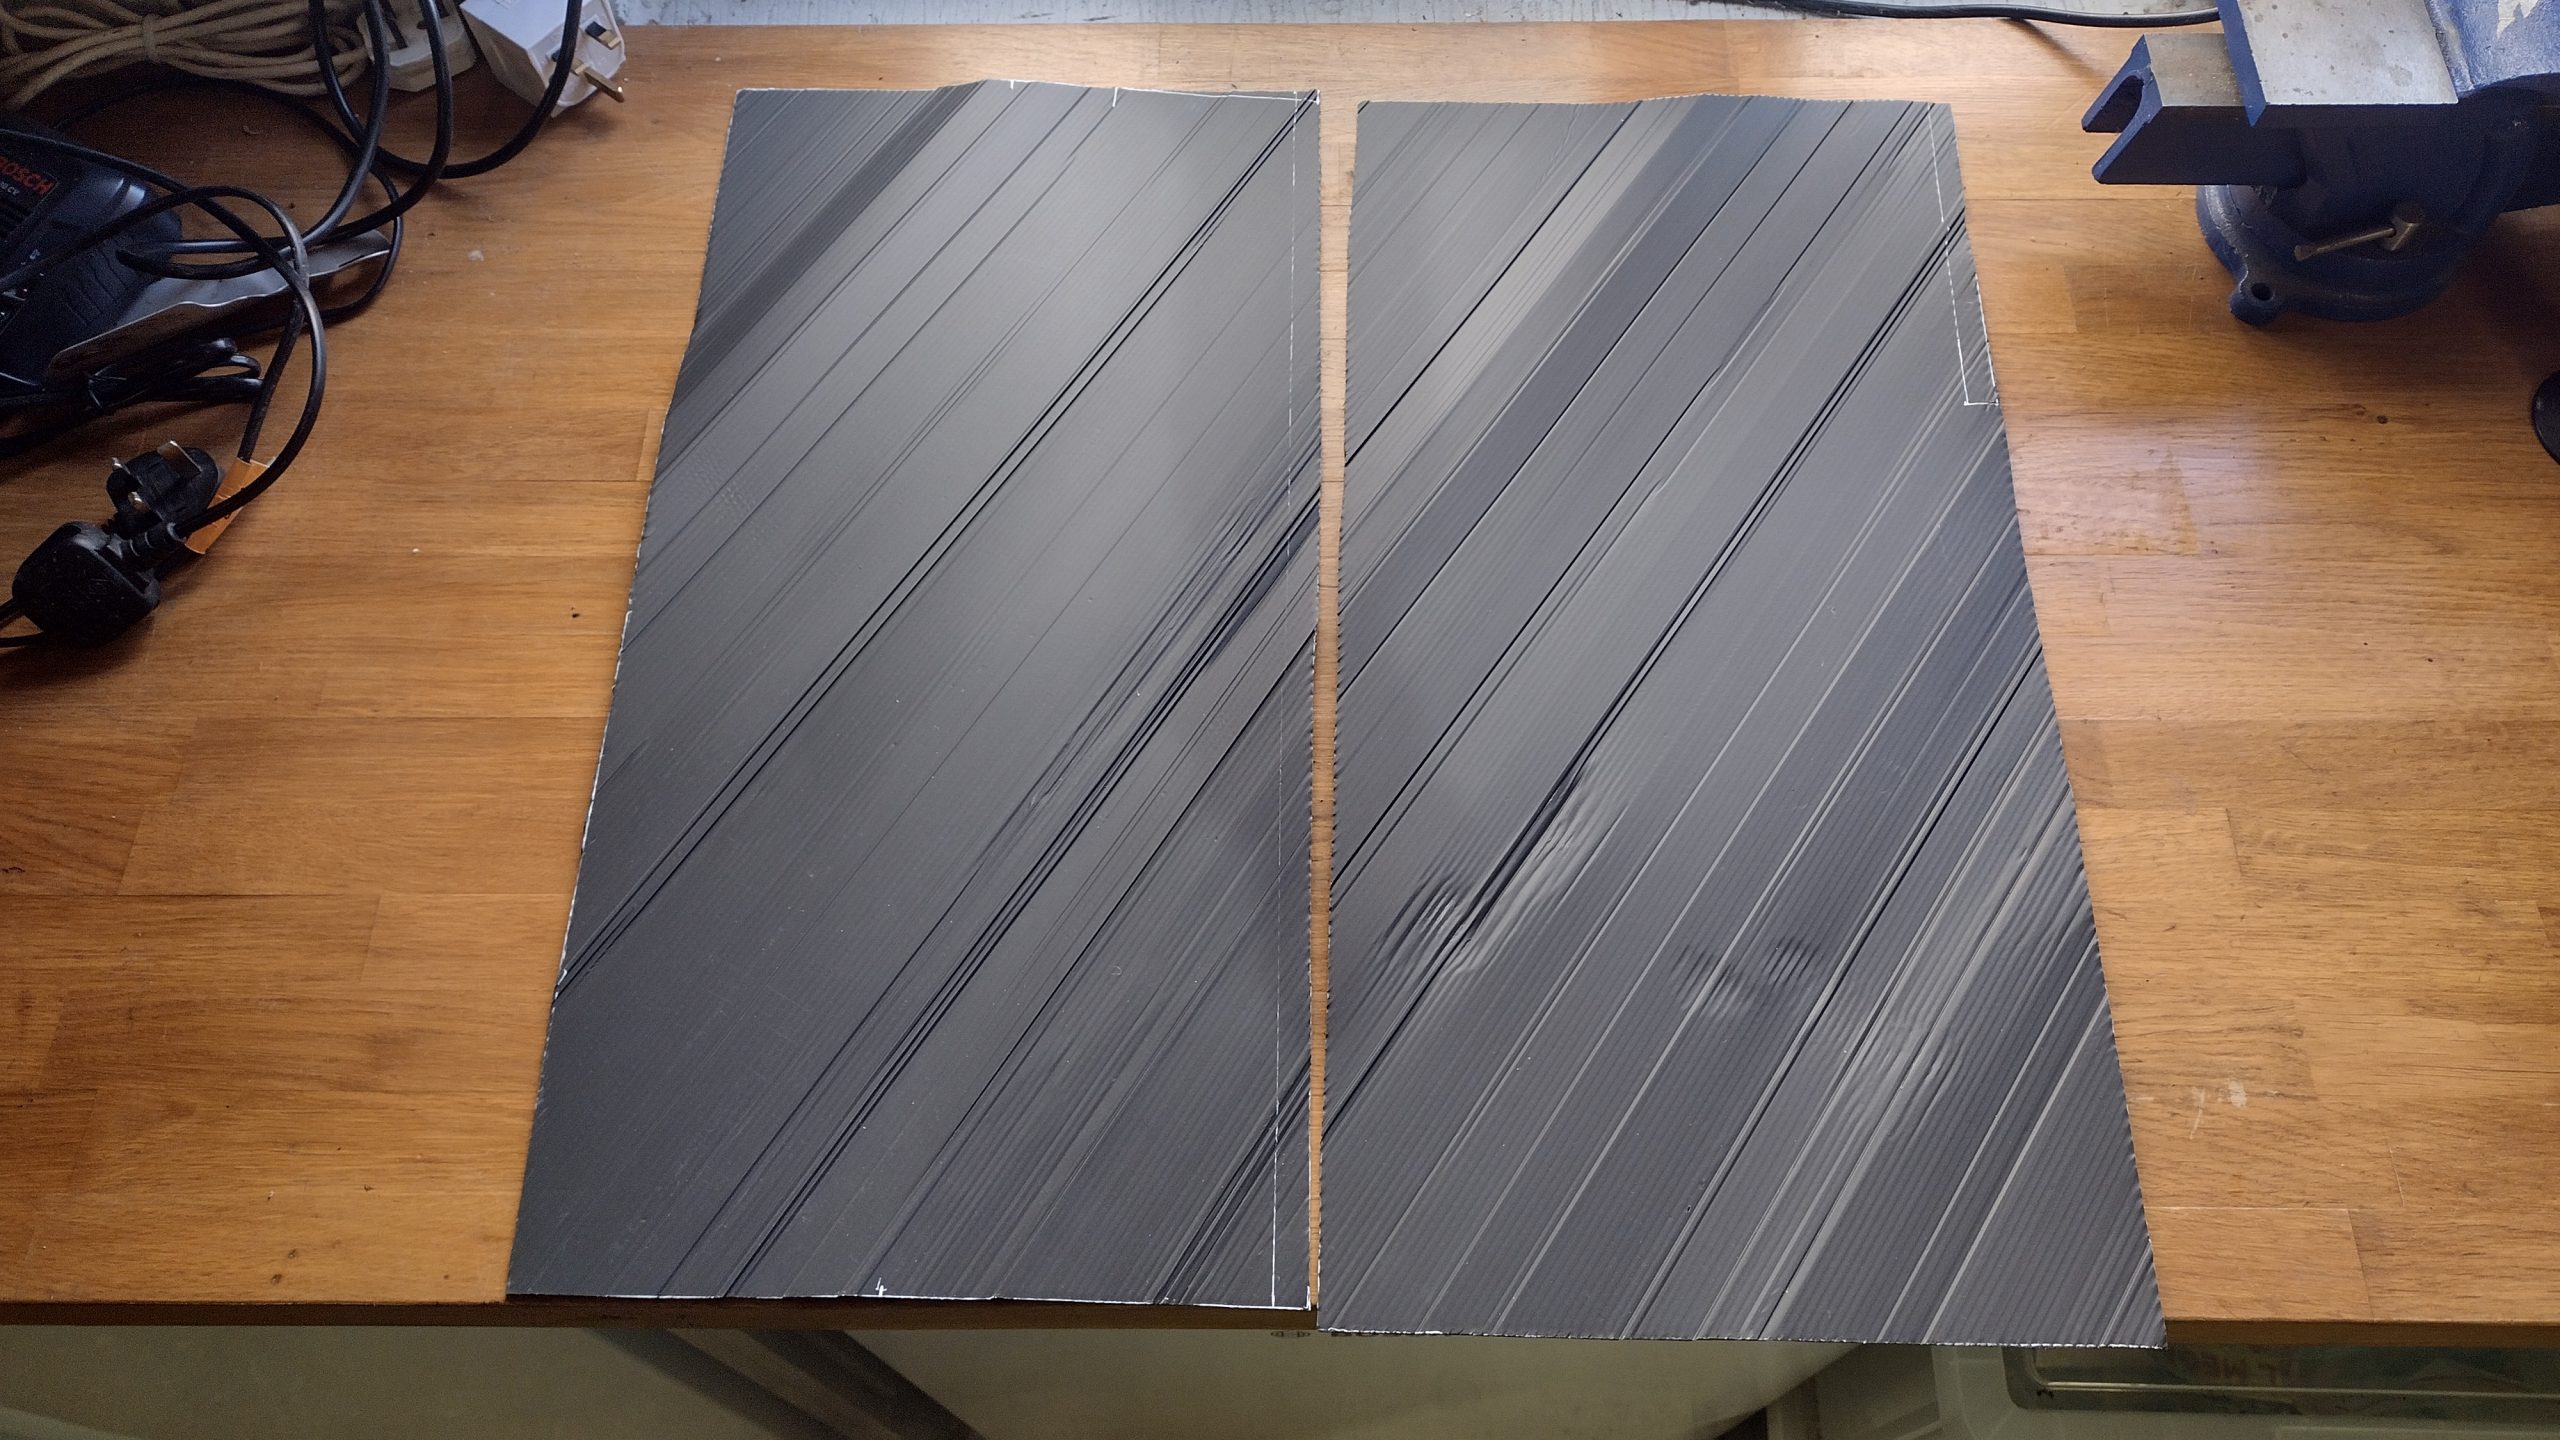
the pieces of the protection board that make up the frame sheet. The two sides here go together and the flutes run in opposite directions, kind of like when making plywood.
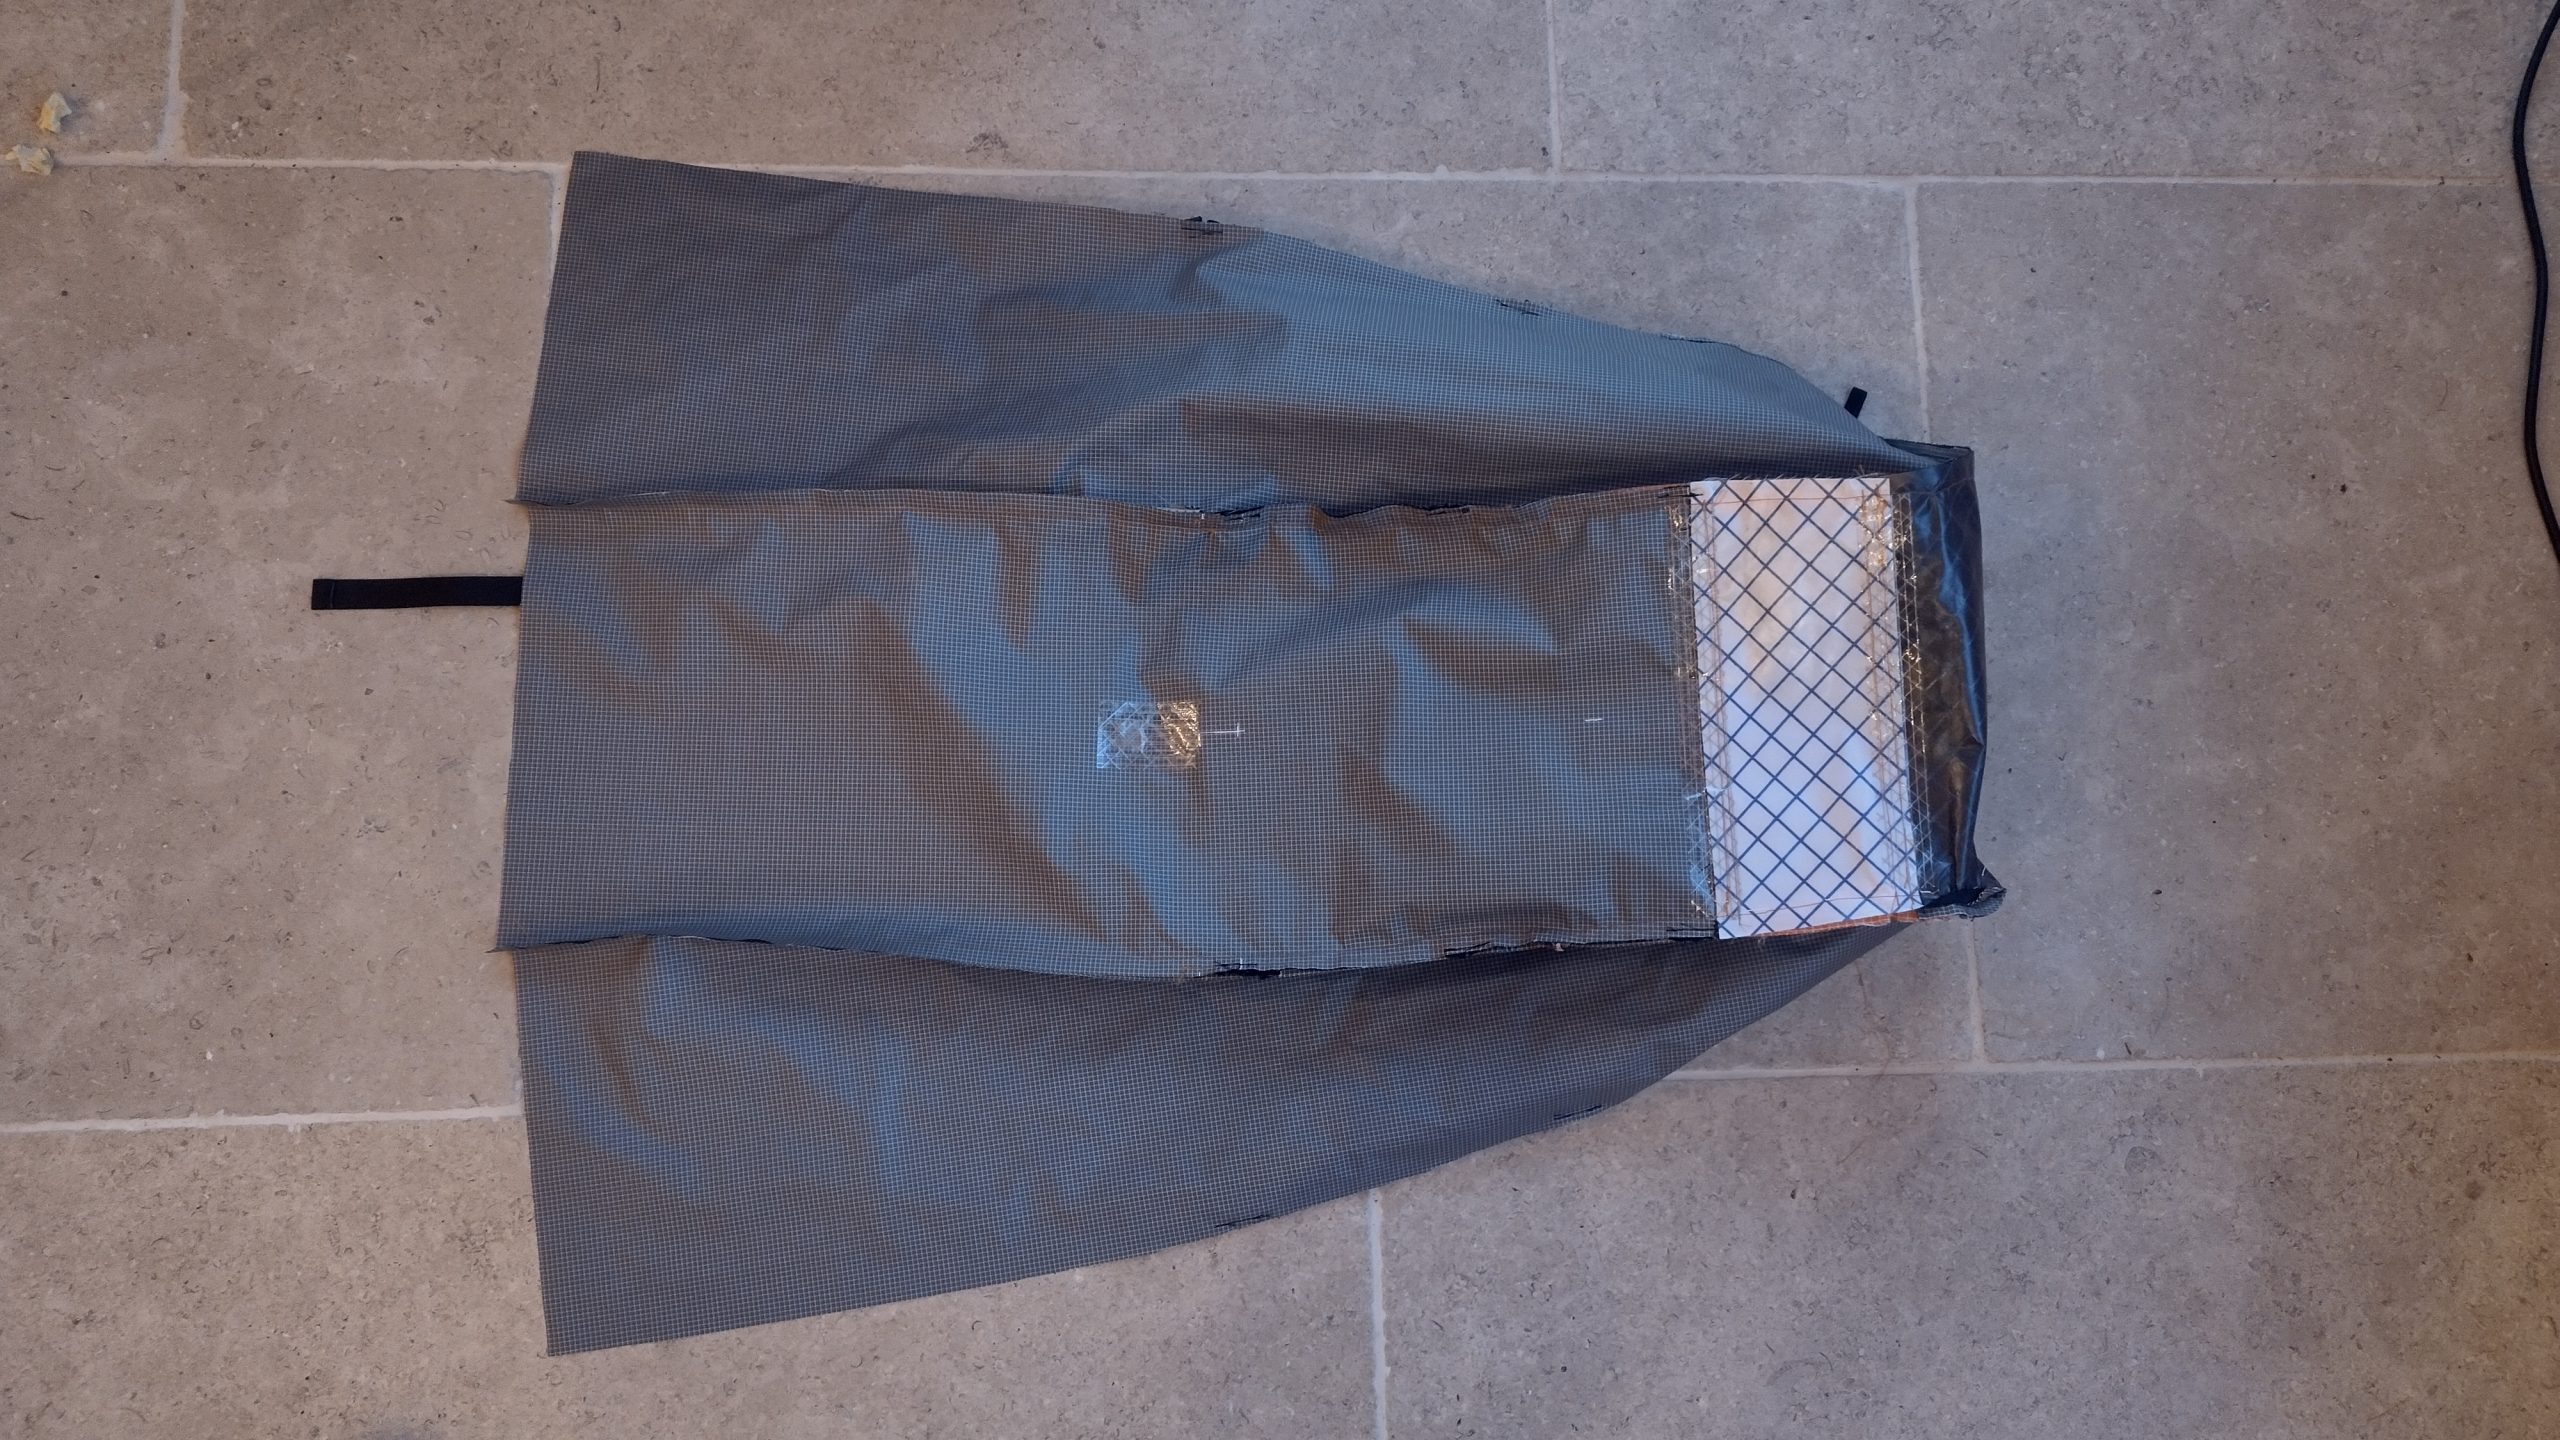
The next step is to make a pocket for the frame, since there is a bit of plastic frame in there as well. This is just a lightweight ripstop with a velcro flap on the tap. At this point I also sew the load risers and top strap tie downs.
Putting it all together
Finally it’s time to start putting all the parts together. For now we opted for a single seam. First the side panels and the front panel are attached.
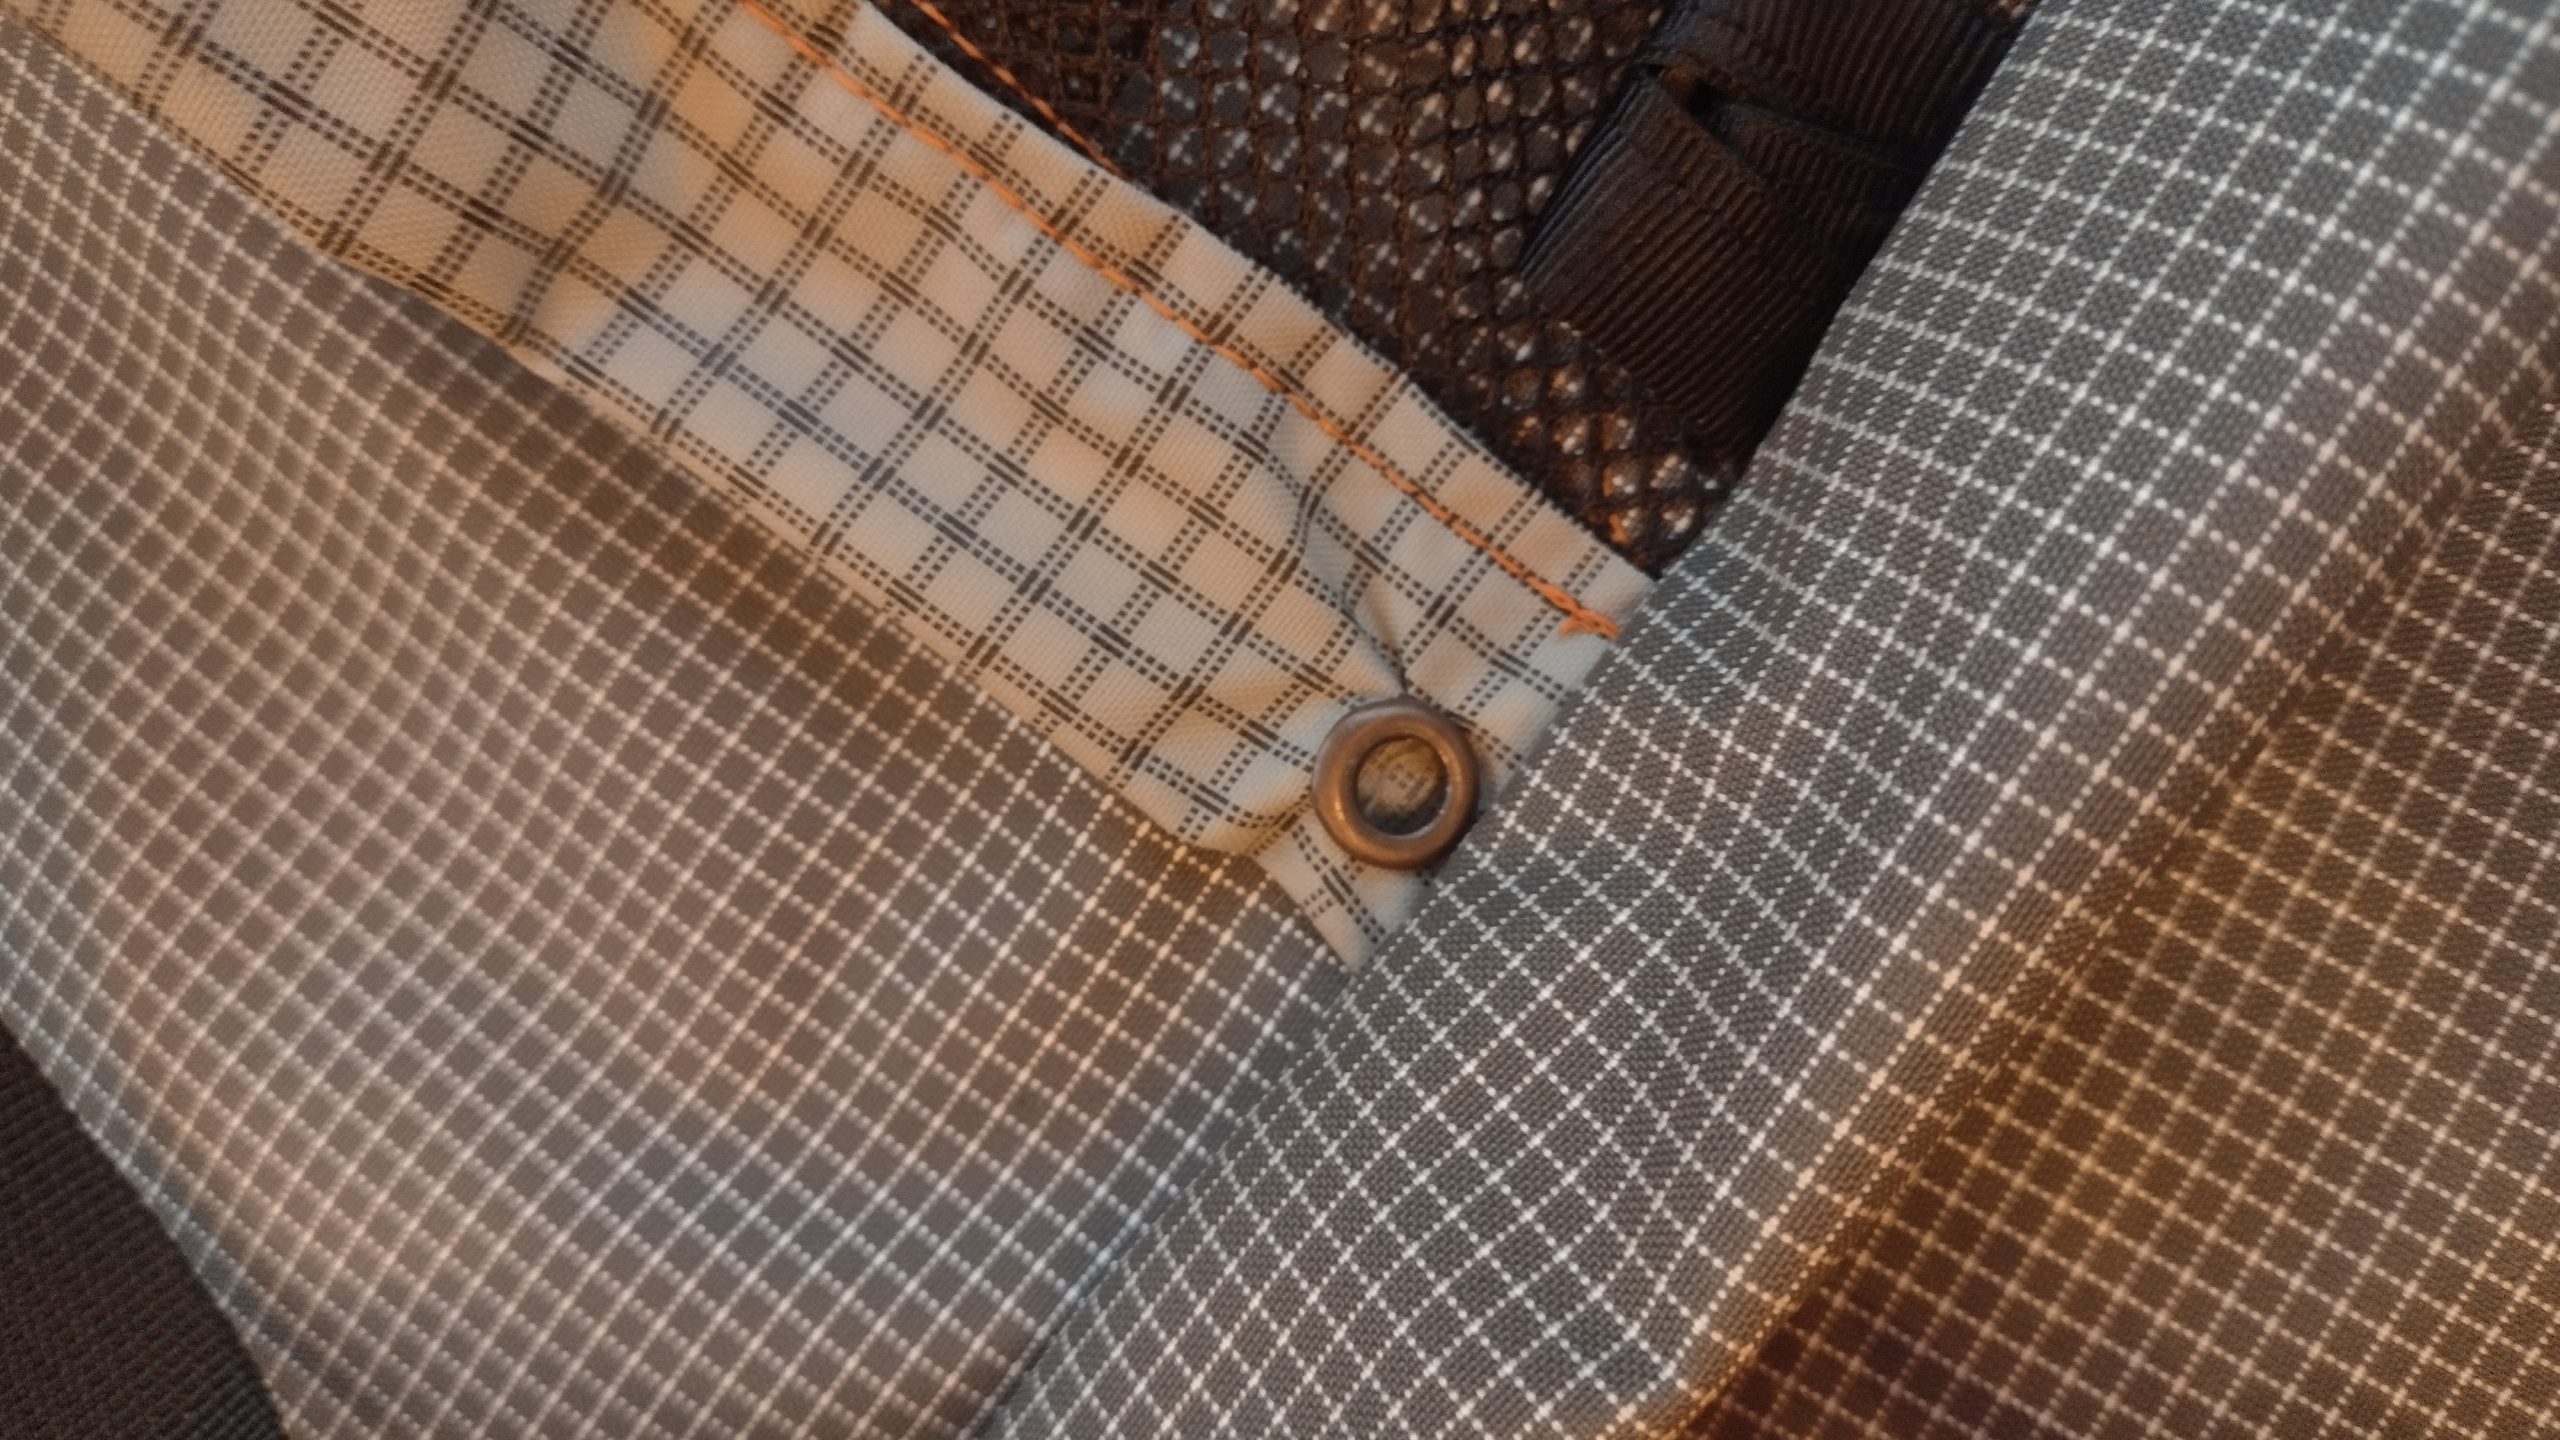
I realize I’ve messed up the front panel and can’t stop the drawstring channel opening for the front pocket from being sewn into the seam allowance. So I put in a couple of eyelets so I can thread some cord through.
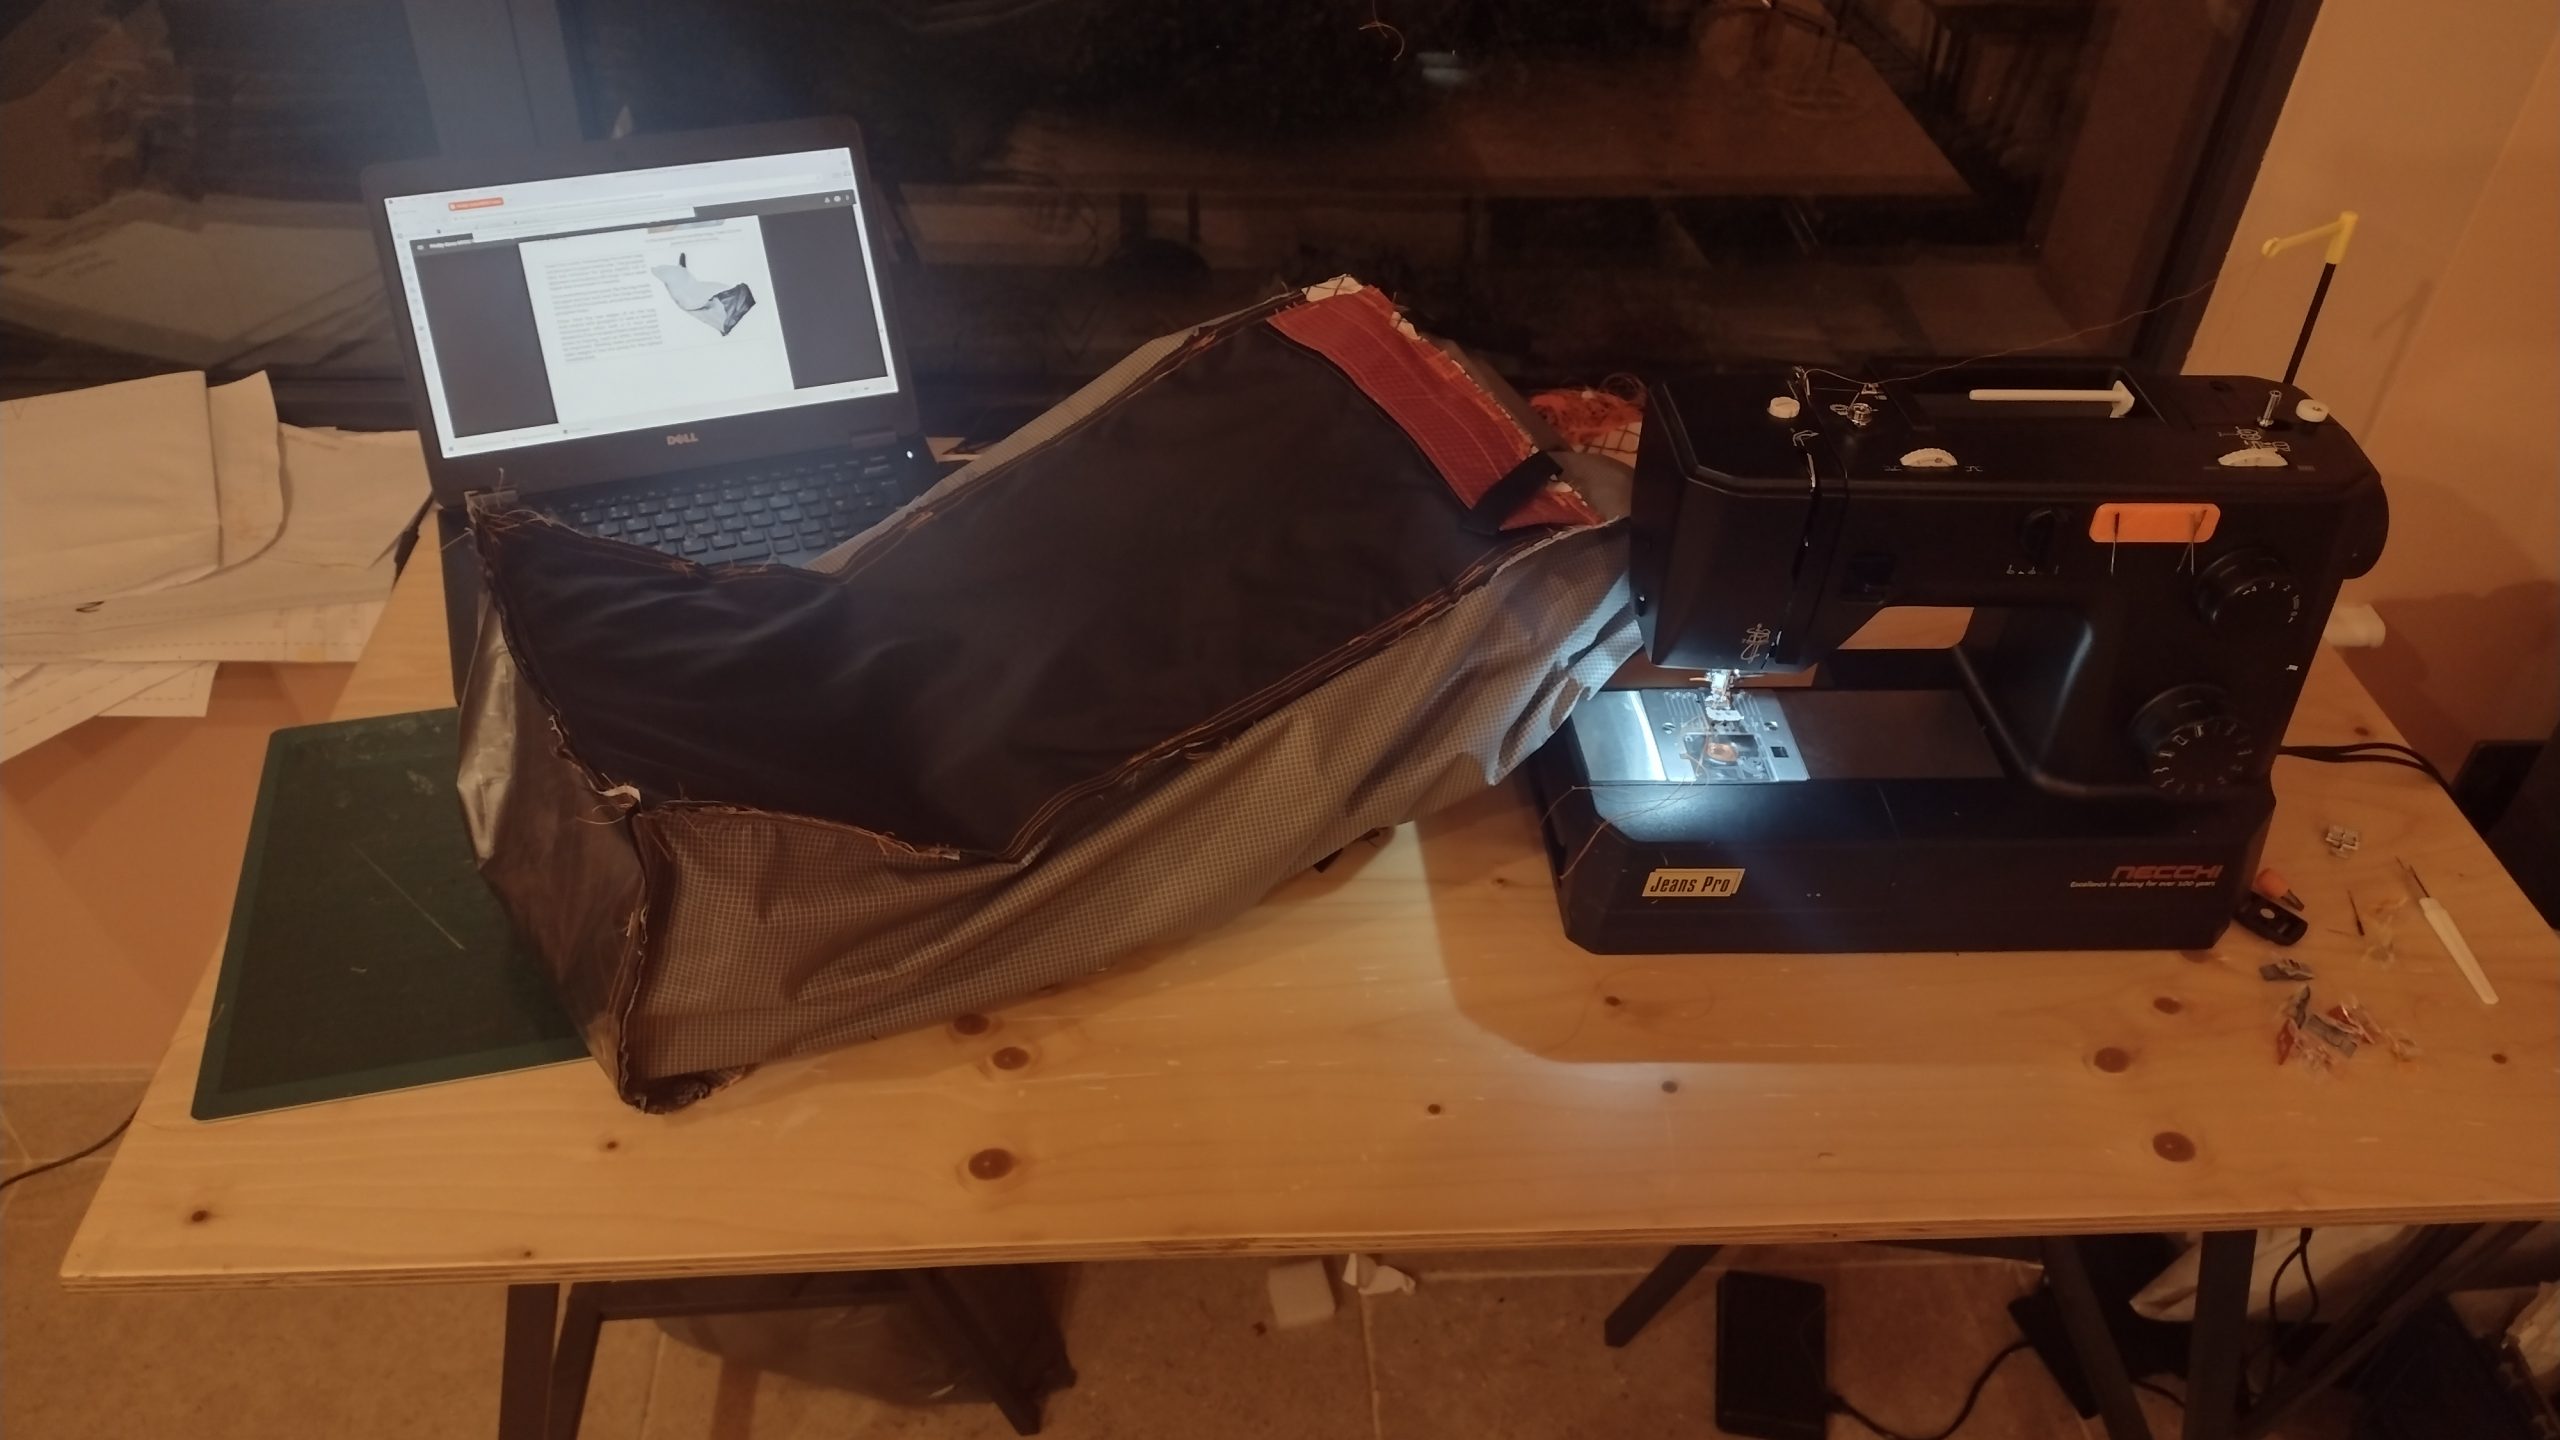
Joining the front panel is a bit tricky. Most bags are sewn inside out and there are some bulky seams. As the bag becomes more three-dimensional, it is more difficult to maneuver around the machine. A couple of crooked sections where I had to re-stitch to get a good seam. Once this is done, I reverse the package backwards, check it out. Then I turn it outwards and reinforce key points like pocket fittings, etc.
I turn it in the right direction againThen add a buckle to the roll top opening. It uses a magnetic buckle, which is very satisfying to feel like it snaps into place and is easy to use with cold hands. So we’re almost done!
Shakedown on Severn Way
The package is not completely finished, but I have it 95% finished so I can take it to a five-day pre-CDT shakedown. I almost didn’t get enough done since it coincides with my last work week’s trip, and upon my return I had less than a day to complete and prepare for my trip. I wake up early in the morning and finish closing the roll top about an hour before I have to leave for the Severn Way.
The Seven Way is a 215-mile route that follows the River Severn from its mouth in the Bristol Channel to its source in the Cambrian Mountains of Wales. I started walking the section in late 2024. I live in a small town near Bristol, the city at the mouth of the river, and I can see the river in the distance when I climb the nearby hills. I’ve been able to do much of the bottom as small day hikes on public transportation and short weekend trips. Many of those hikes were done during the winter and early spring. Many short, cold days with wet feet. Now it’s the beginning of summer, it’s hot and everything is in bloom.
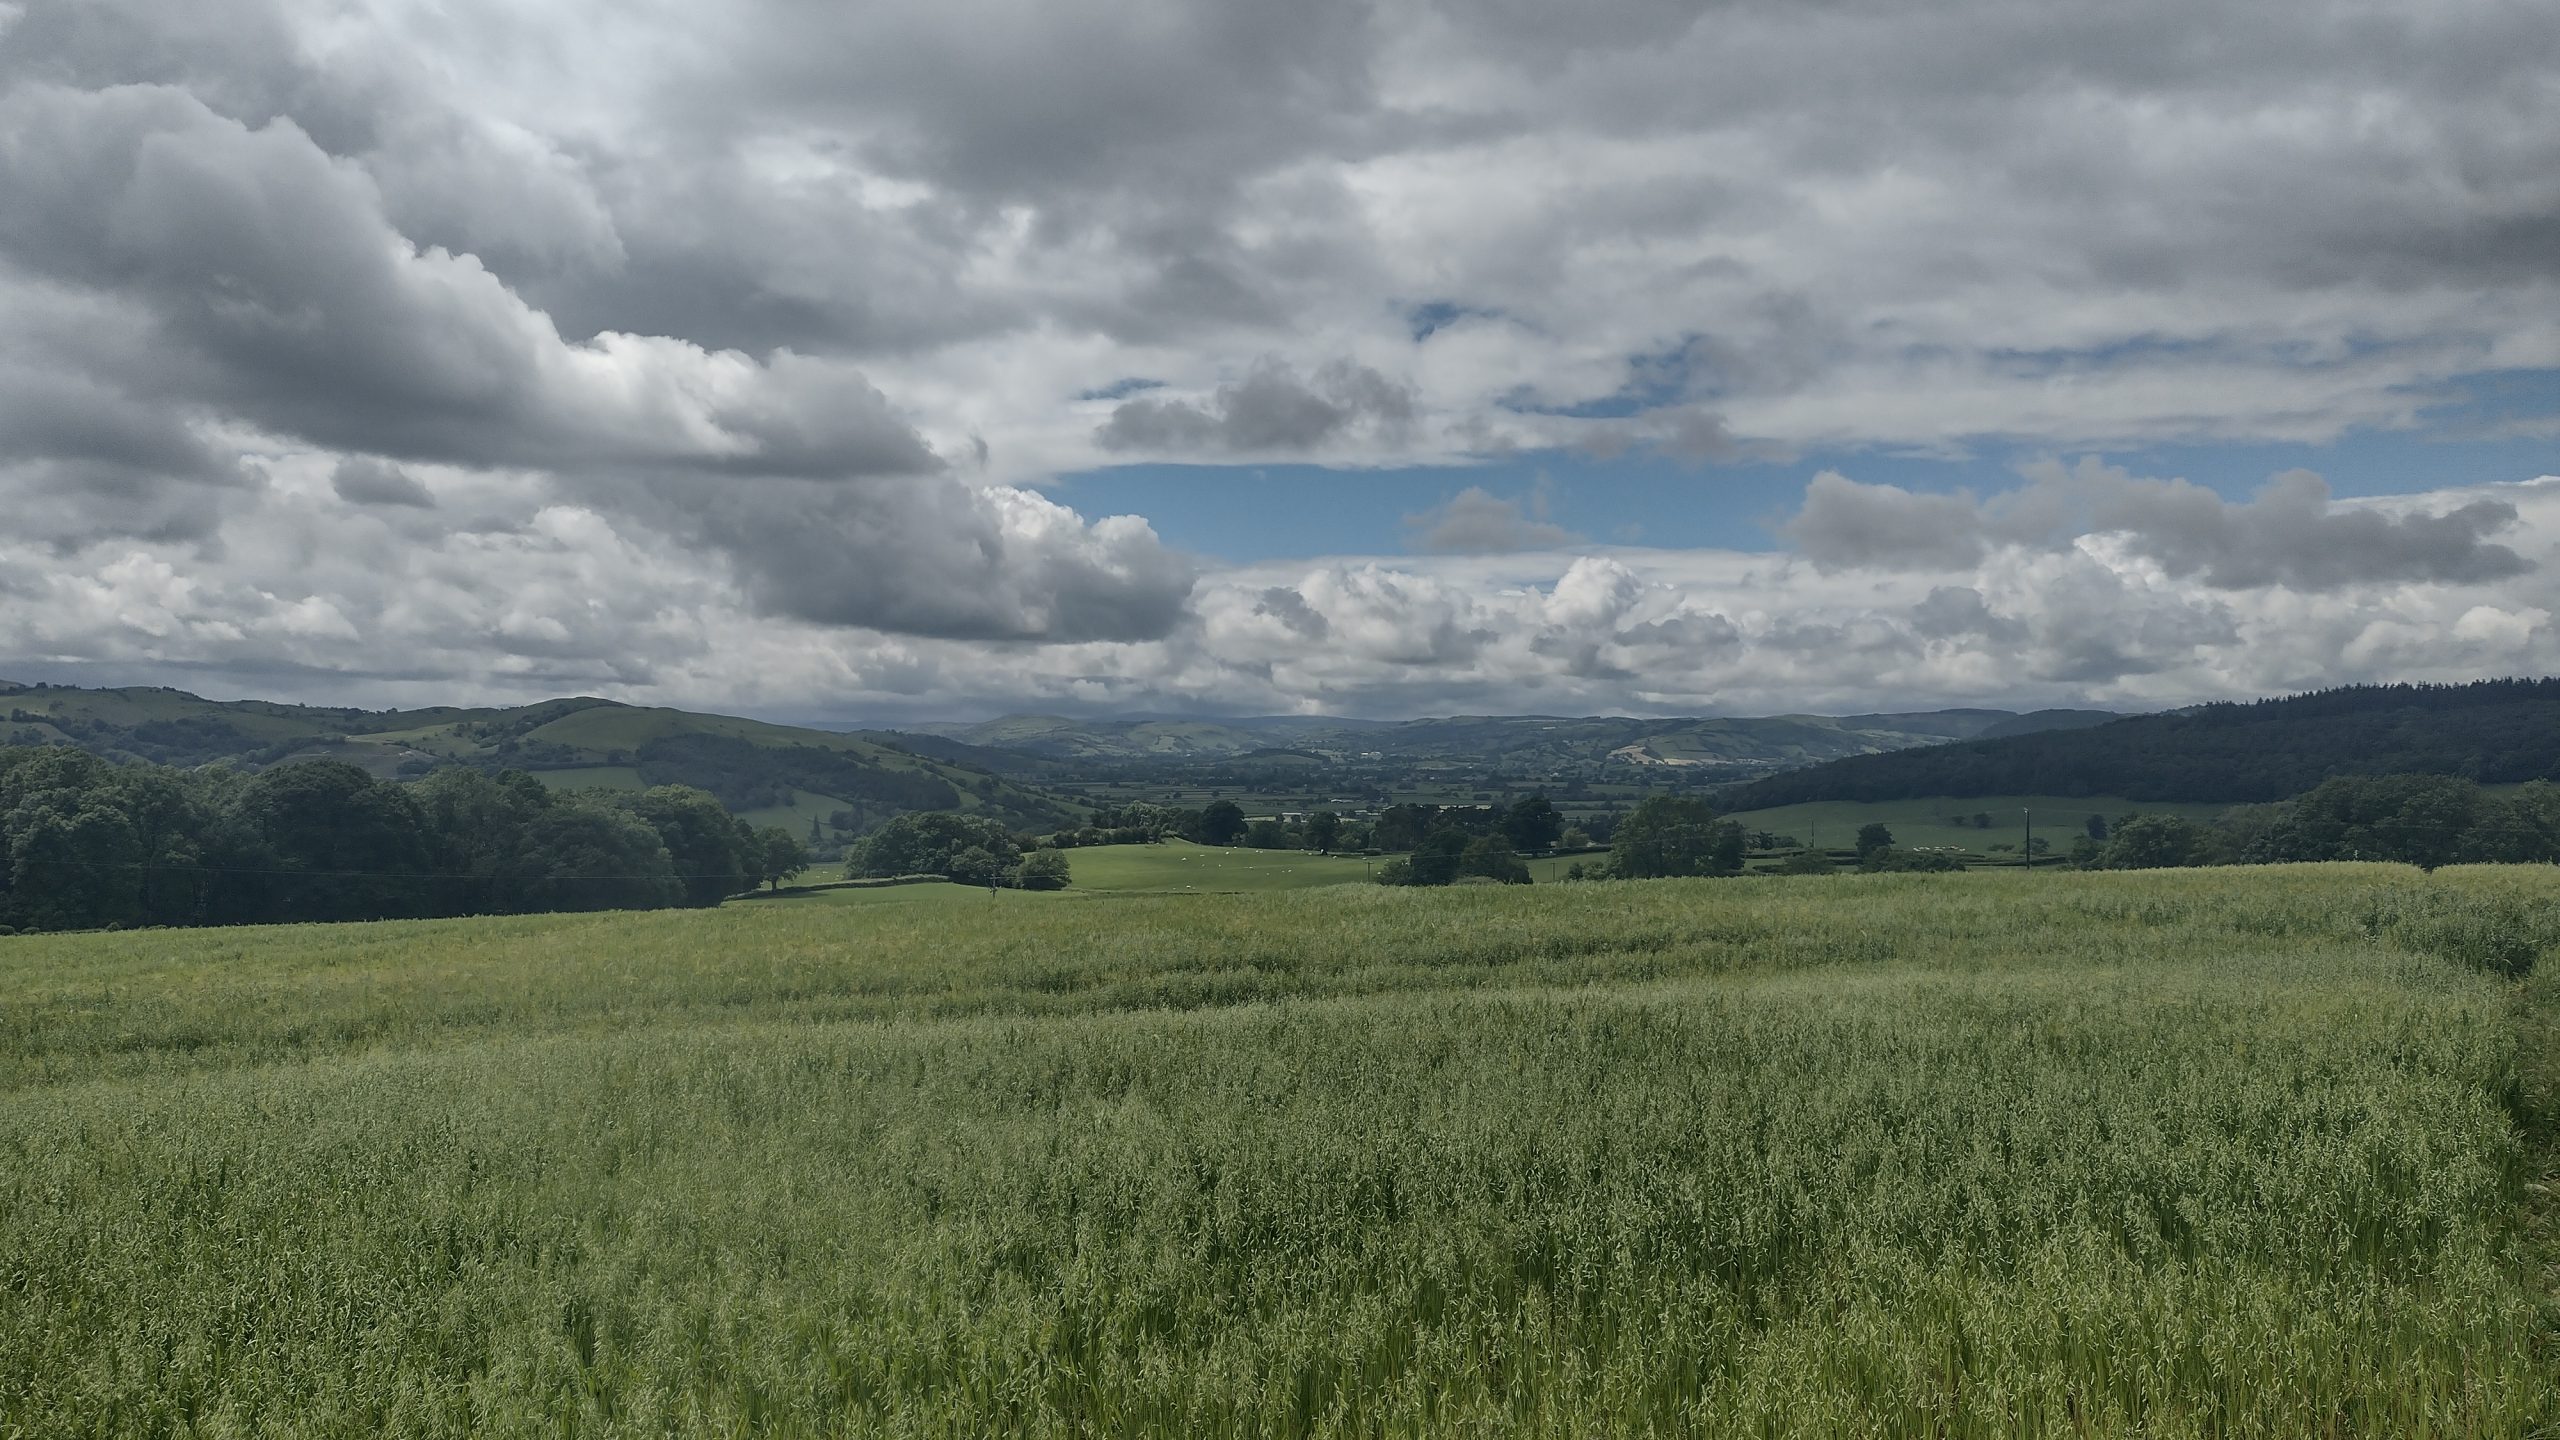
Rolling hills of mid Wales on the outskirts of Newtown.
I spend 5 days walking. The first few days are beautiful sunshine, buttercups in bloom, and the smell of elderflowers wafting on the breeze. Then it rains almost non-stop for the rest of the time, sometimes quite hard. I manage to reach the source of the Severn, which is a muddy pool on the side of a hill, while being buffeted by the winds up there. 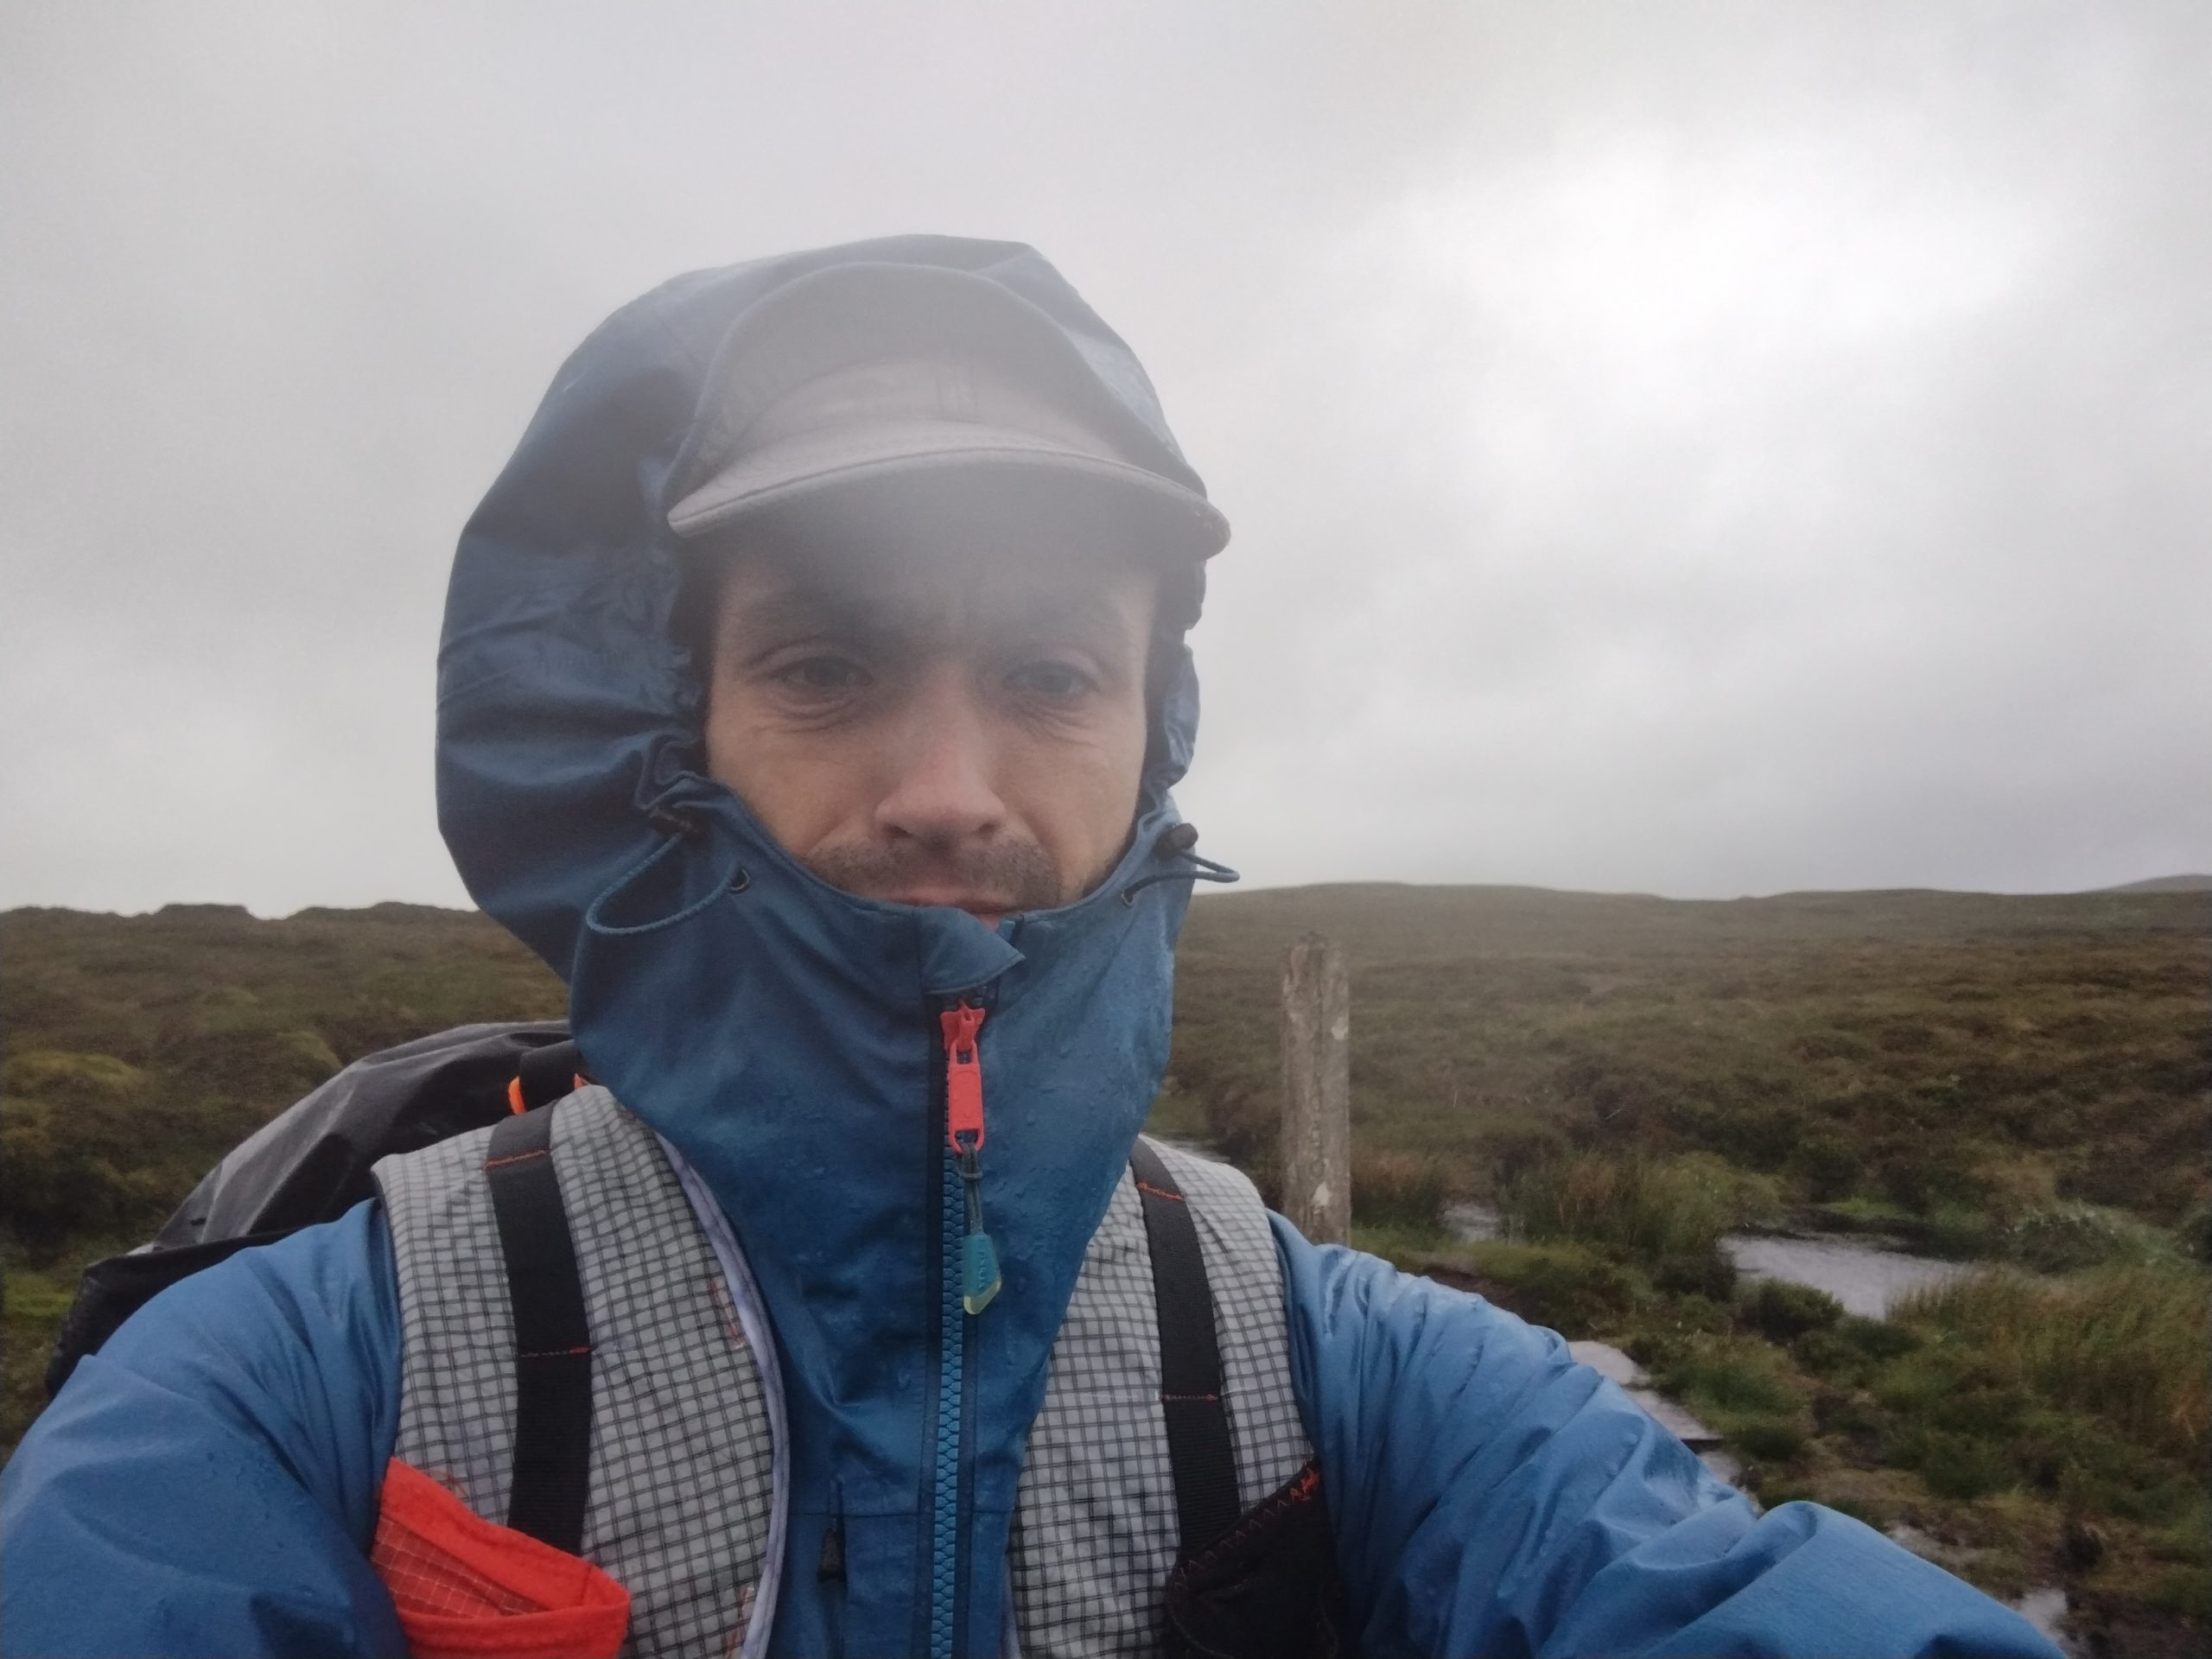 That little puddle behind me is the source of the Severn.
I descend into the next valley and find a campsite sheltered from the wind. The next day I walk to the town of Machynlleth to catch a train home. Finishing there, I’ve connected a series of passes from the Lands to the North Wales coast, which feels pretty good!

My pack is on the outskirts of Machynlleth.
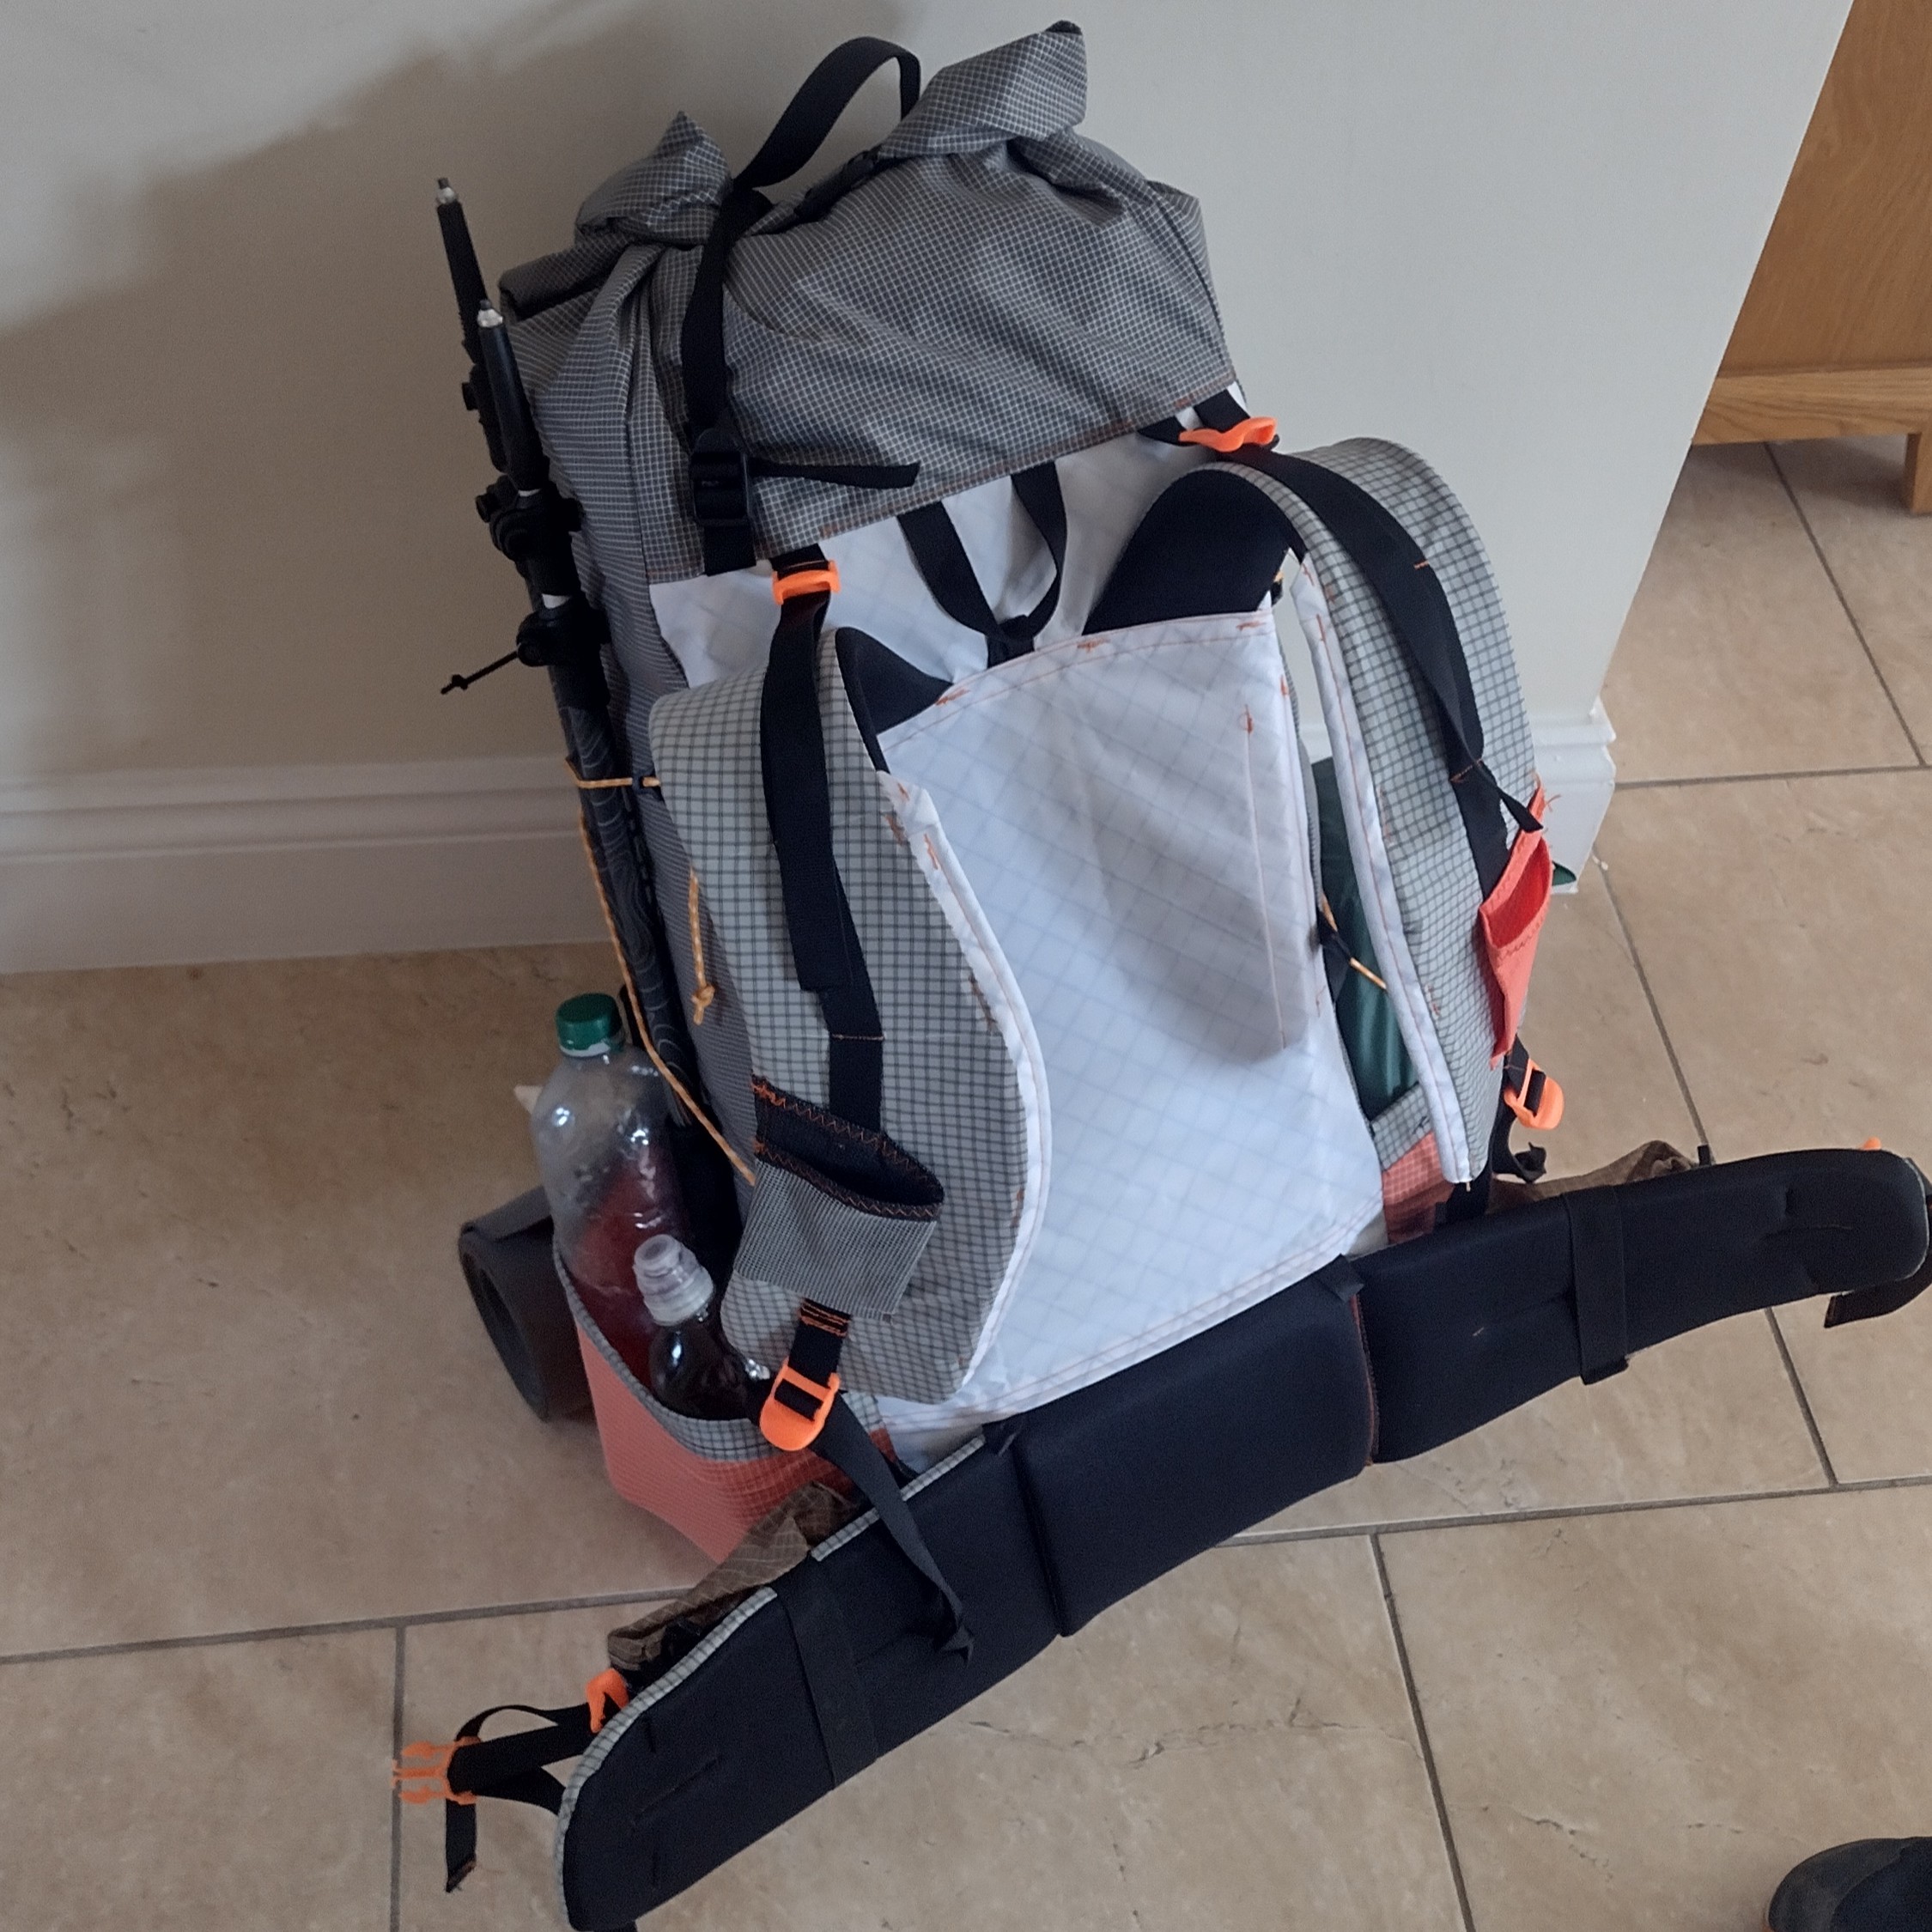
And how did the backpack hold up? Pretty good! He feels comfortable when I carry him with food and water. Everything seems to work pretty well. I notice that one of the side pockets is not completely sewn into its seam, which should be easy to fix. . The elastic pockets on the shoulder straps are also perhaps a little small, but I’m hoping to rip out some non-essential stitches that prevent them from fully stretching.
Final touches
When I return I finish the parts of the package that I left incomplete. This mainly consists of adding some additional reinforcement stitches at the main panel joints. I add a gusset to the roll top of the bag. which involves sewing a 1″ piece of grosgrain along one side of the opening and sliding a thin piece of plastic into the channel created by the grosgrain. Helps make it easier to close the backpack.
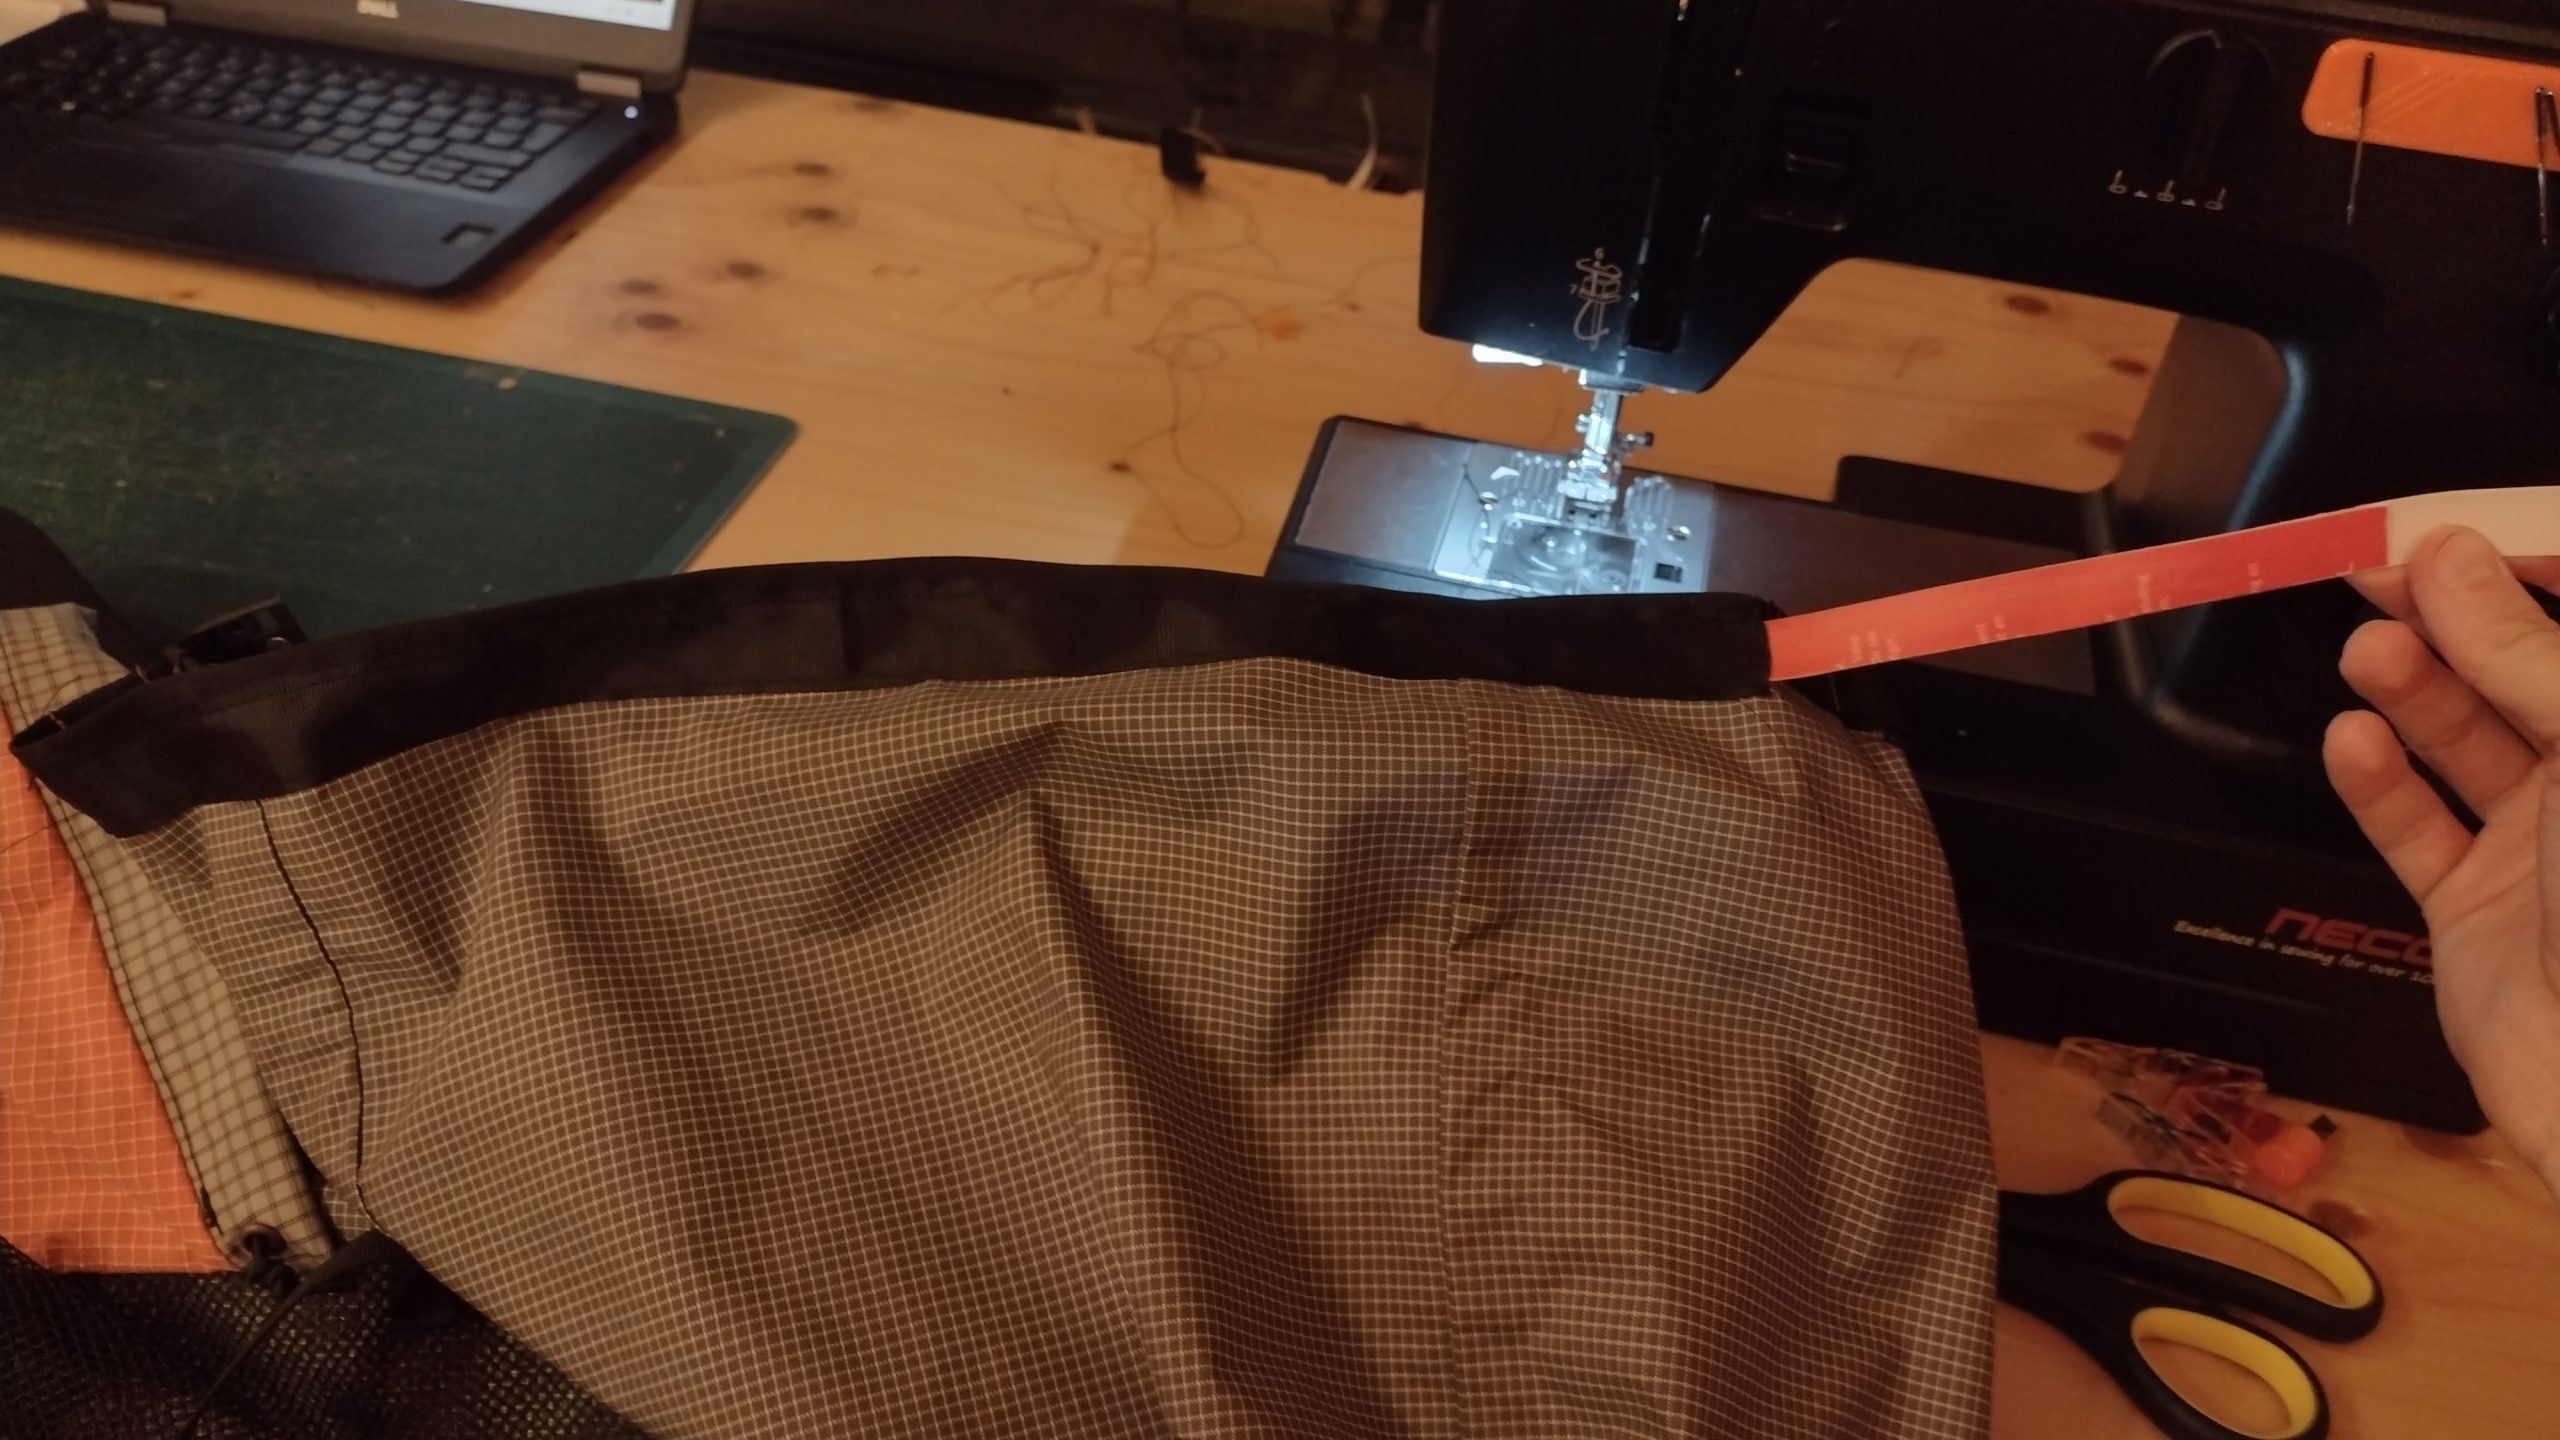
Sliding the roll top gusset in. I used a piece of plastic from an old sleeping mat. Opened plastic beverage bottles are also a good source of material.
I taped some of the seams for a little more water resistance. All the essentials will be in dry bags, but it’s good not to open a wet bag when you’ve been walking in the rain. I also make some additional accessories: removable pockets on the hipbelt, a zipper pocket on the shoulder, and a water bottle pouch on the shoulder.
And that’s how to make a backpack! I estimate that this entire process has taken me about 50 hours over 3 months. I’ve been doing this in my free time on weekends and after work, it’s not always easy when you’re tired from a long day and there are other more fun tasks. It weighs about 1.2kg, which is a little more than I wanted. But I biased durability in material selection, so it’s a fair trade-off in my opinion. I’m very happy with the result at the moment and can’t wait to put it to the test in less than a week at the CDT!
This website contains affiliate links, which means The Trek may receive a percentage of any products or services you purchase using links in articles or advertisements. The buyer pays the same price they would otherwise pay, and their purchase helps support The Trek’s ongoing goal of bringing you quality backpacking information and advice. Thank you for your support!
For more information, visit the About page of this site.


